A Real-World Safari Test, In-Field Results, and Practical Tips
Successful wildlife photography starts long before the first animal appears. You must be completely comfortable with your camera and lenses before heading into the field. If you are fumbling with buttons, menus, or autofocus settings, you will almost certainly miss the decisive moment.
For more than 30 years, safari wildlife photography has been both my profession and my passion. My work has focused primarily on East Africa, where I have led and completed dozens of photographic workshops. During that time, I have worked through multiple generations of equipment—from 35mm SLRs and 2¼ medium-format film cameras to modern DSLRs. The Nikon Z9 represents my first move into a professional mirrorless system.
To properly evaluate its strengths and limitations, I tested the Z9 in a wide range of real-world environments, including London, Rome, and the Seychelles Islands. These locations provided diverse subjects, lighting conditions, and shooting challenges before taking the camera into true safari conditions.
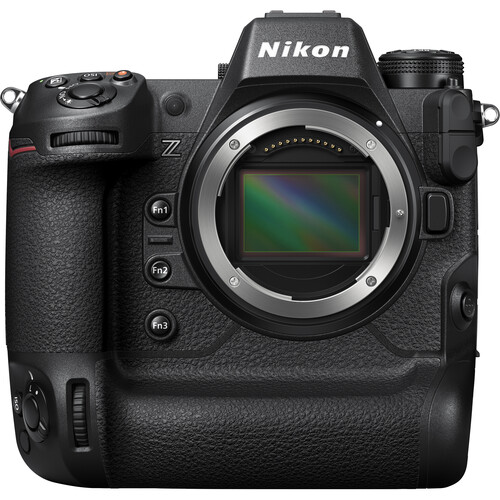
Nikon Z9 Specifications
Sensor:
45.7 Mega Pixel Stacked BSI CMOS sensor
Full Frame 8256×5504 pixels
iso 64-25,600 (expandable 32-102,400 iso)
Blackout free shooting
Performance and Processing
EXPEED 7 processor
20fps (RAW and JPEG)
493 point focus system 9 subject presets
8K UHD – 30p, 4k – 120p video recording
4 Main function Buttons and 20 assignable buttons
Nikon Z9 Field Testing and Real-World Performance
A comprehensive hands-on review of the Z9 was completed in the Seychelles. I covered wildlife, landscapes, coastal scenes, and fast-moving subjects. One photoshoot resulted in saltwater damage that appeared to be minor. However, requiring a $3,000 repair even though shooting and image quality remained unaffected.
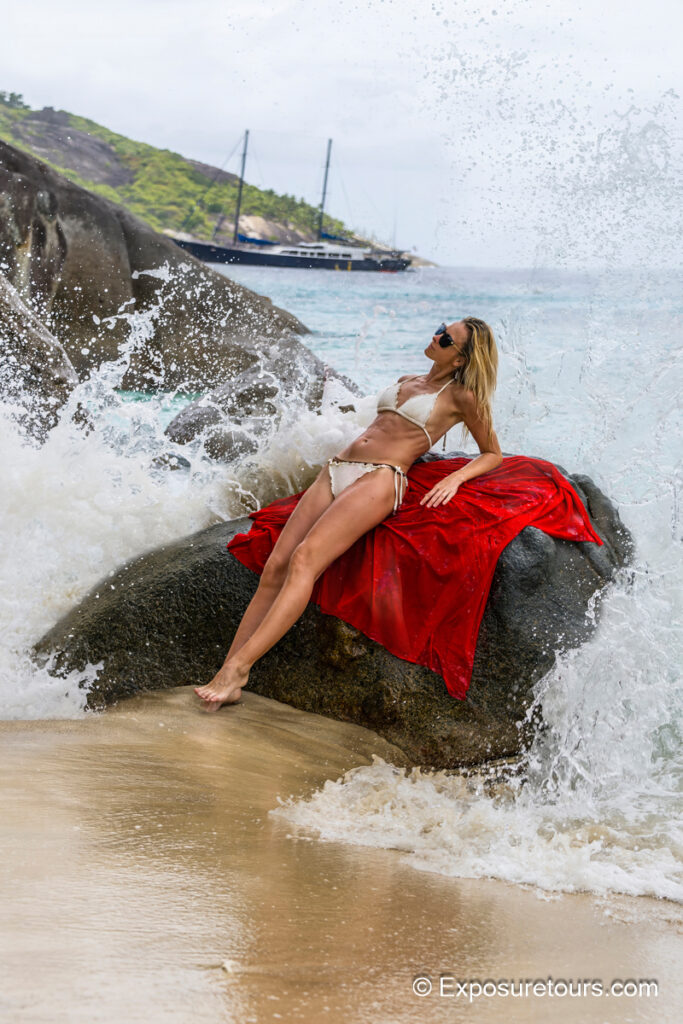
Fortunately, my no-fault Diamond insurance policy covered the damage in full—an important reminder that professional photography often comes with real risks.
This testing phase allowed me to assess the Z9’s autofocus, durability, image quality, and usability long before relying on it during critical safari moments.
You can get a great deal on the Z9 Here
Shooting Banks
One of the standout features of the Z9 is its extensive array of customizable buttons. Combined with the ability to rename and organize shooting banks (A–D), it becomes very easy to tailor the camera to specific shooting needs.
After setting up the shooting banks, assign the bank selection to the Fn1 button for quick changes during a shoot. I have my recommended wildlife setting on Bank ‘A’

For photographers working with a variety of subjects, this flexibility is invaluable, allowing seamless transitions between settings with a single touch. 95% of the images you see here are shot with these settings:
Recommended Nikon Z9 Settings for Wildlife Photography
Shooting Bank ‘A’
- File format: RAW (Large) + JPEG (Basic), RGB
- Picture Control: Neutral
- Back Button Focus (setup guide linked here)
- Metering: Center-weighted
- Exposure modes: Aperture Priority and Shutter Priority
- Drive mode: Single or Continuous Low FPS
- Focus mode: Continuous single-point AF
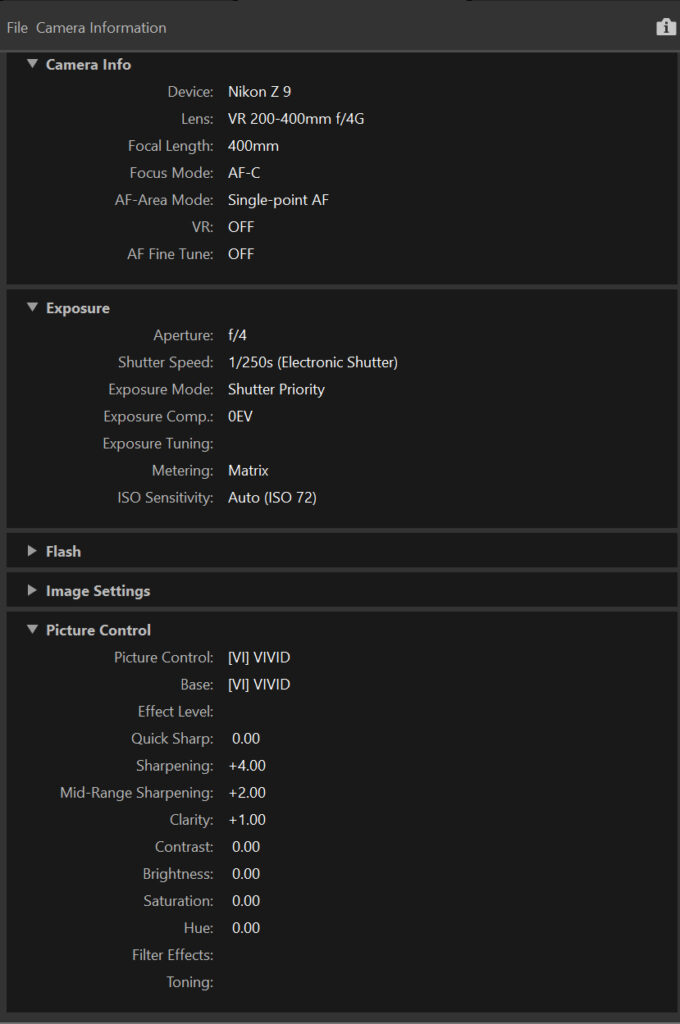
- Sample EXIF DATA HERE
- Firmware 5.3.1 or later
Custom Function Button Setup
- Fn1: Shooting Banks
- Fn2: Image Area (default)
- Fn3: Virtual Horizon
- Fn4: Zoom-in LCD view for checking focus and fine detail
Photo Tip:
Remember that the camera automatically saves any changes you make within a shooting bank. For example, if you switch to manual mode while using a particular bank, the camera will treat that setting as the new default for that bank.
To protect your saved shooting banks from being overwritten or lost, go to the Set Up Menu (wrench) and select Save/Load. The camera will save your settings to whichever card—Slot 1 or Slot 2—you currently have inserted.
Keep in mind that formatting the card will delete these settings. To avoid this, either transfer the file to your laptop for backup or keep a separate card dedicated to storing your settings or serving as image overflow.
Wildlife Photography Gear Setup

Lenses for Safari Photography
My primary lens remains the Nikon 200–400mm f/4, which has consistently delivered reliable results in demanding wildlife situations. Alongside it, I carry a 28–300mm zoom for broader coverage and unexpected opportunities.
Although the latter is a slow lens its Best travel lens I have ever used
I no longer travel with a traditional ‘trilogy’ set of heavy zoom lenses While primes may offer advantages in sharpness or speed, there is rarely time to change lenses when photographing wildlife behavior. Zoom lenses provide flexibility, allowing me to shoot tight at 300mm and continue shooting as an animal approaches —sometimes ending with dramatic wide-angle perspectives directly below the vehicle.
Super-telephoto prime lenses also have limitations, particularly their long minimum focusing distances. My shooting style favors close encounters, making 600mm or 800mm primes impractical except for dedicated bird photography.
Using older F-mount lenses with the Nikon FTZ II adapter, all critical functions remain intact. The only limitation appears to be Auto Capture mode, which I do not use in the field.
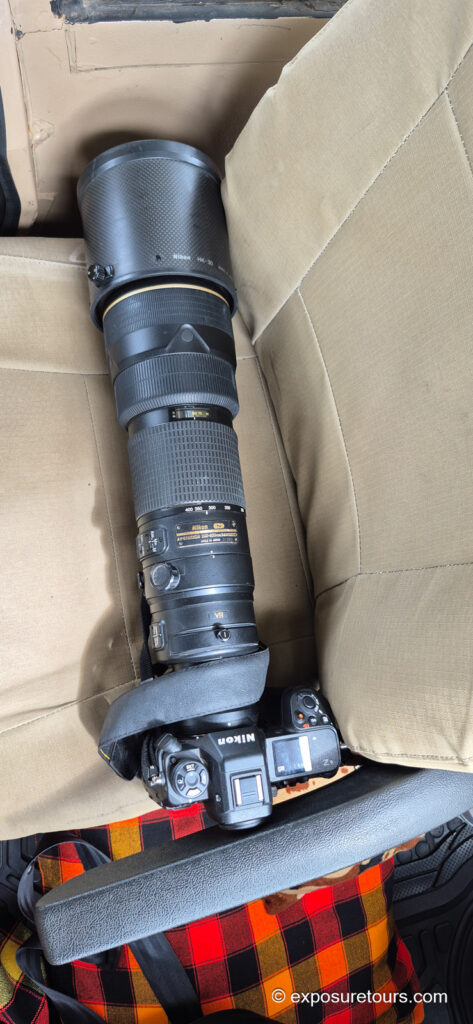
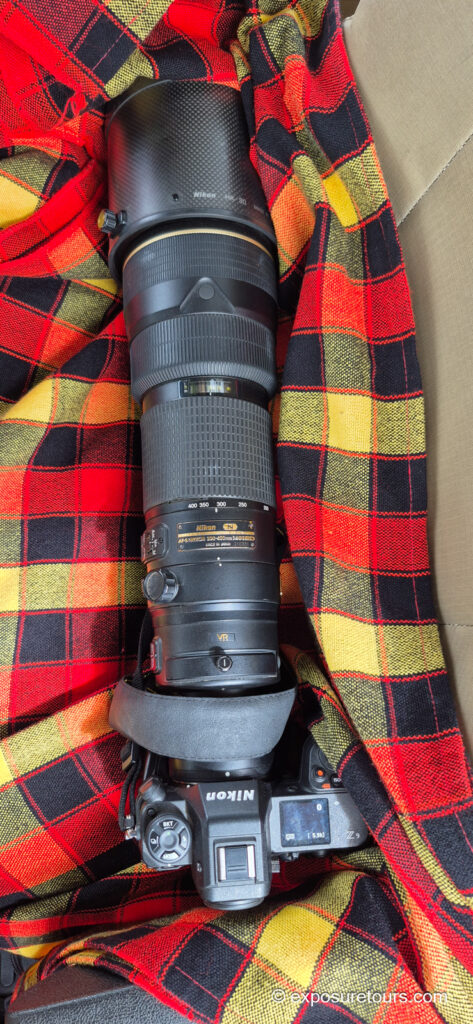

The seat beside me almost feels custom-built for the Z9 paired with the 200–400mm f/4. It’s padded on all sides and fits neatly between the door frame and the armrest. First, I place it on a blanket, which not only supports the setup but also helps reduce dust. Then, I add a bean bag on top, which provides extra weight and stability, keeping everything secure while shooting.
Backup Camera Body and Accessories
As a second body, I continue to rely on my Nikon D850, a proven workhorse with over 250,000 shutter actuations that remains fully dependable.

Standard accessories include extra batteries, a travel tripod, pull along /backpack, and essential cleaning tools. Of these, a powerful blower brush is arguably the most important item in dusty safari environments.
ASUS 2TB Ultra Intel core 9, 32GB RAM /8GB graphic NVIDIA RTX
Lightroom Classic
Camera Support for Safari Wildlife Photography
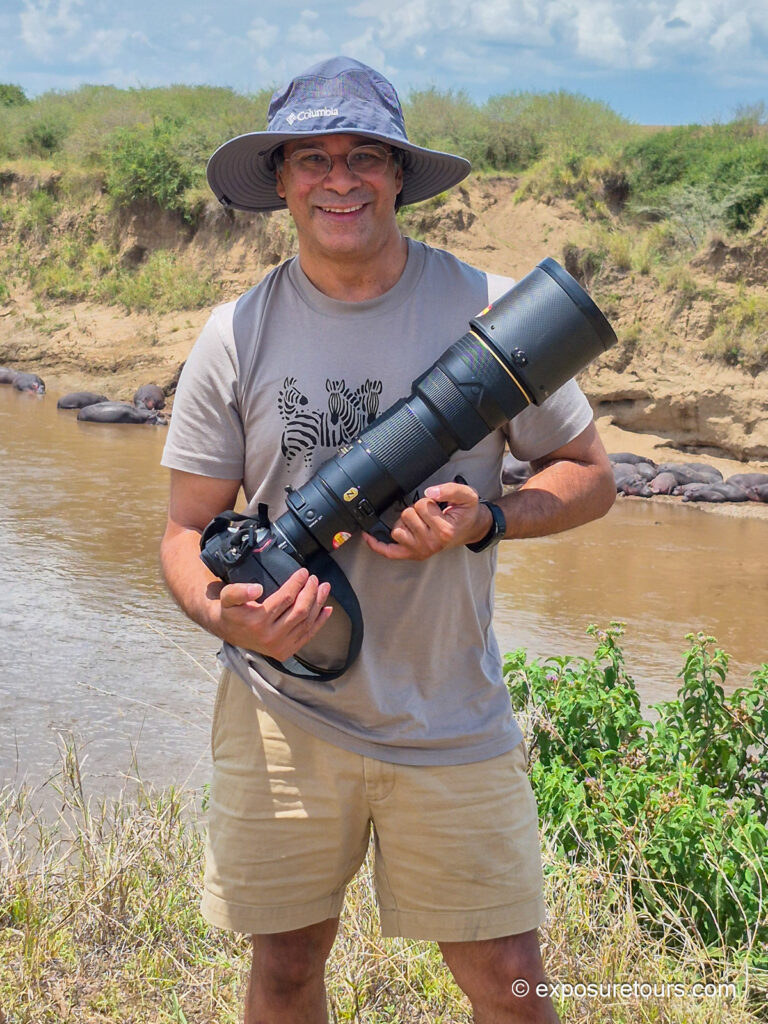
Wildlife photography often involves large, heavy lenses. When shooting outside a vehicle, I hand-hold the 200–400mm lens. This provides complete freedom of movement, allowing me to reposition quickly, change shooting angles, or move rapidly to a better vantage point when necessary.
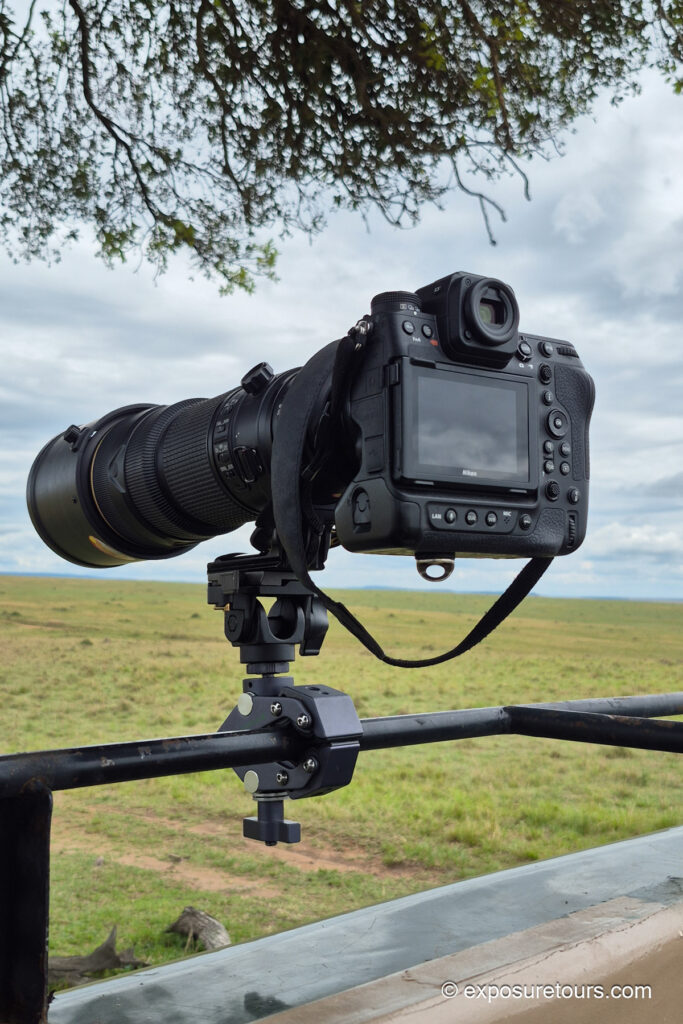
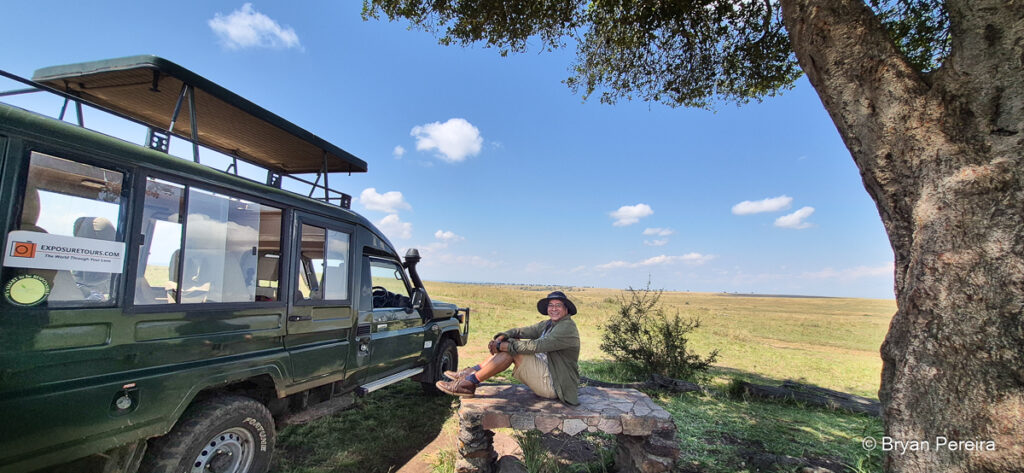
Safari photograph is commonly conducted from a vehicle. My preferred platform is a custom-built 4×4 Land Cruiser, which offers far greater versatility than the open plastic-sided safari vehicles commonly used by tourists, particularly in parts of southern Africa, as well as standard minivan conversions.
Safari Photography Workflow and Camera Settings
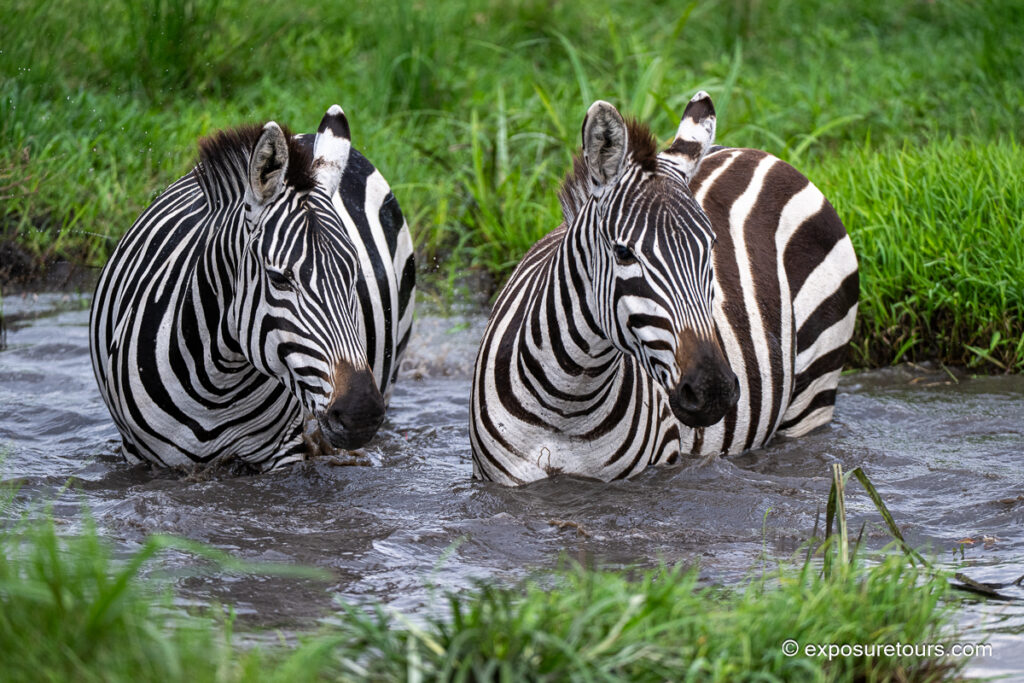
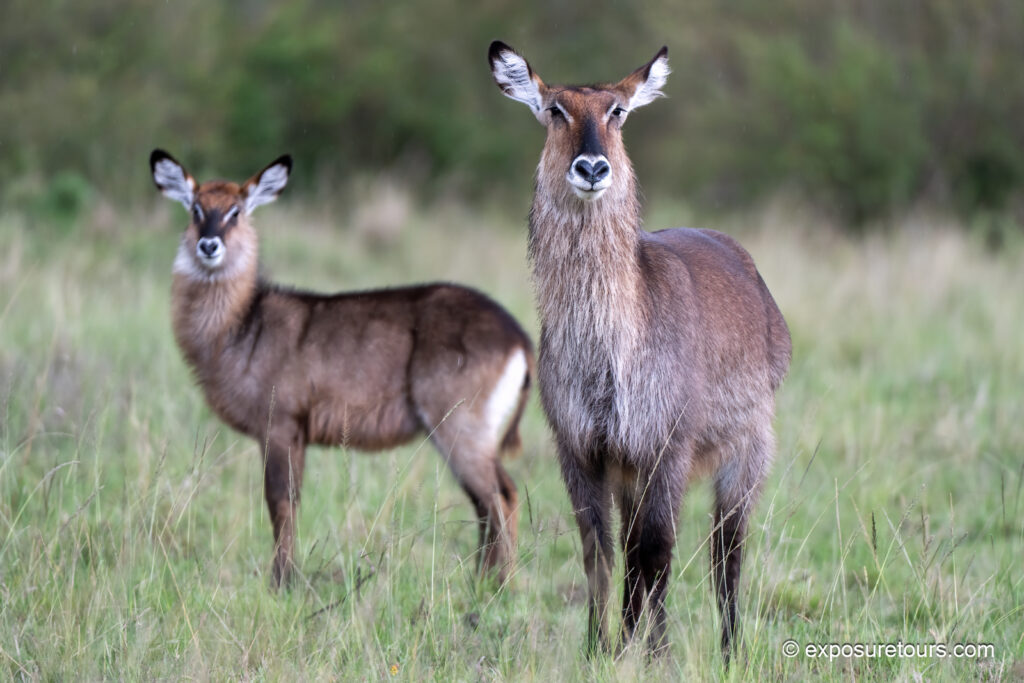
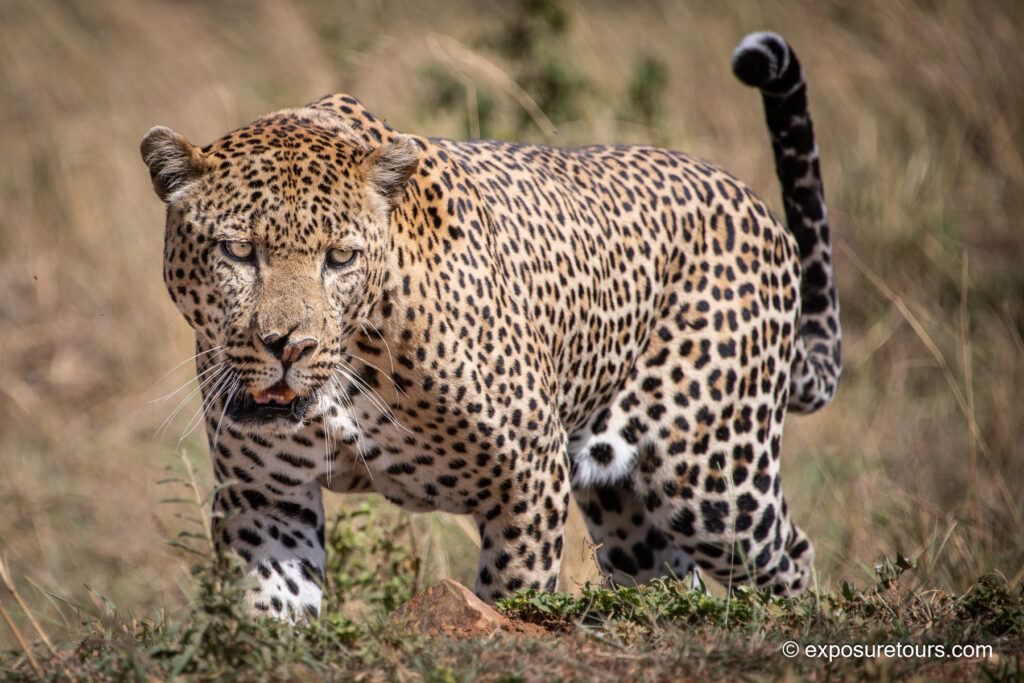
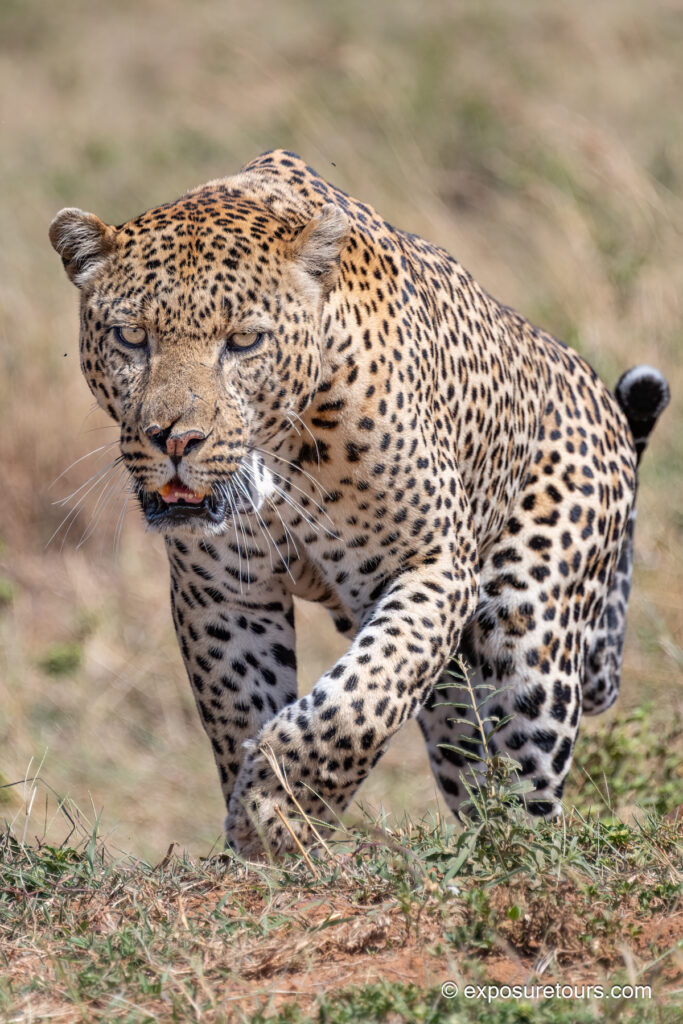
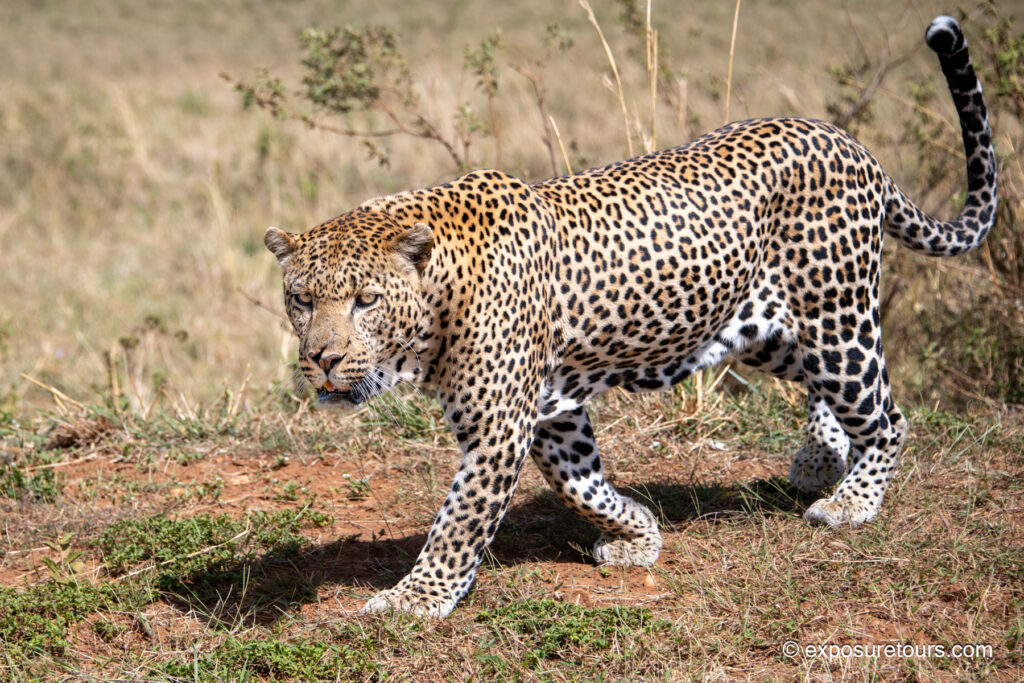
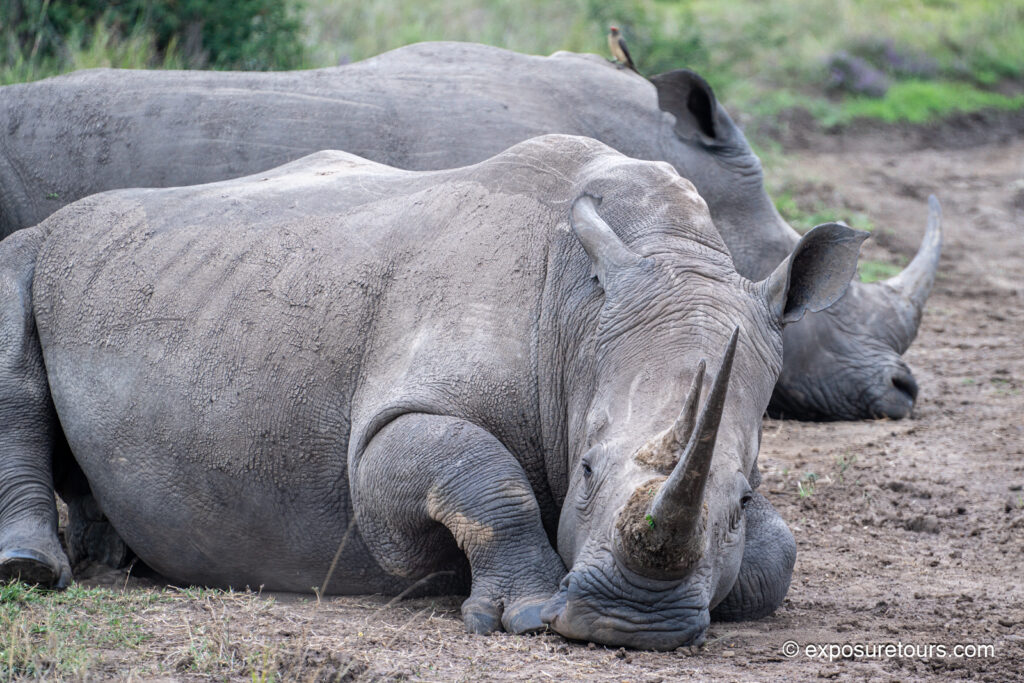
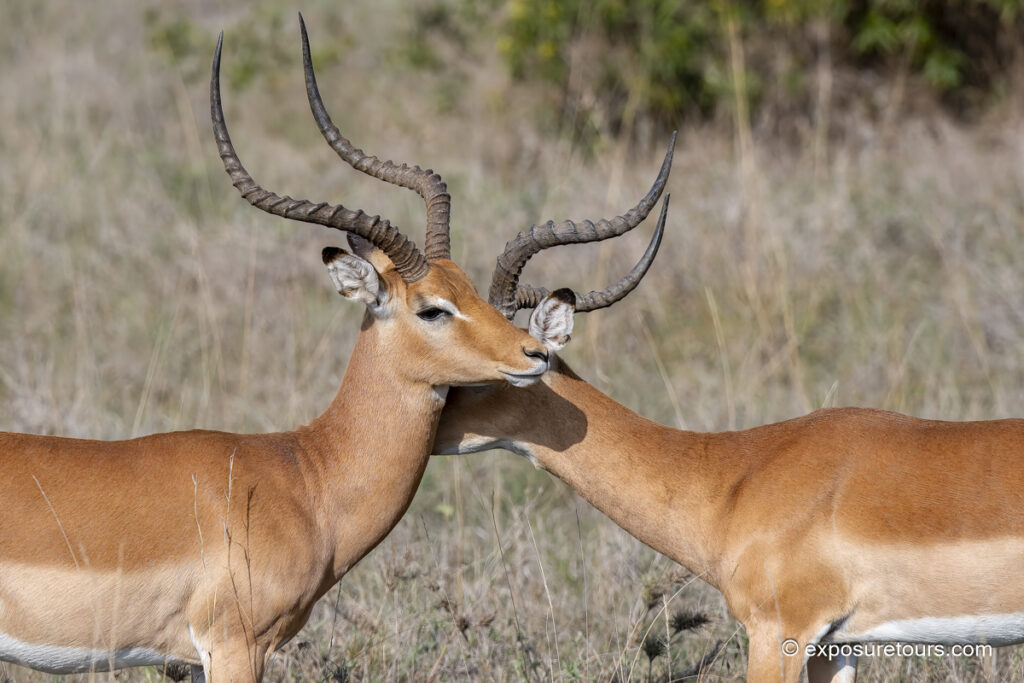
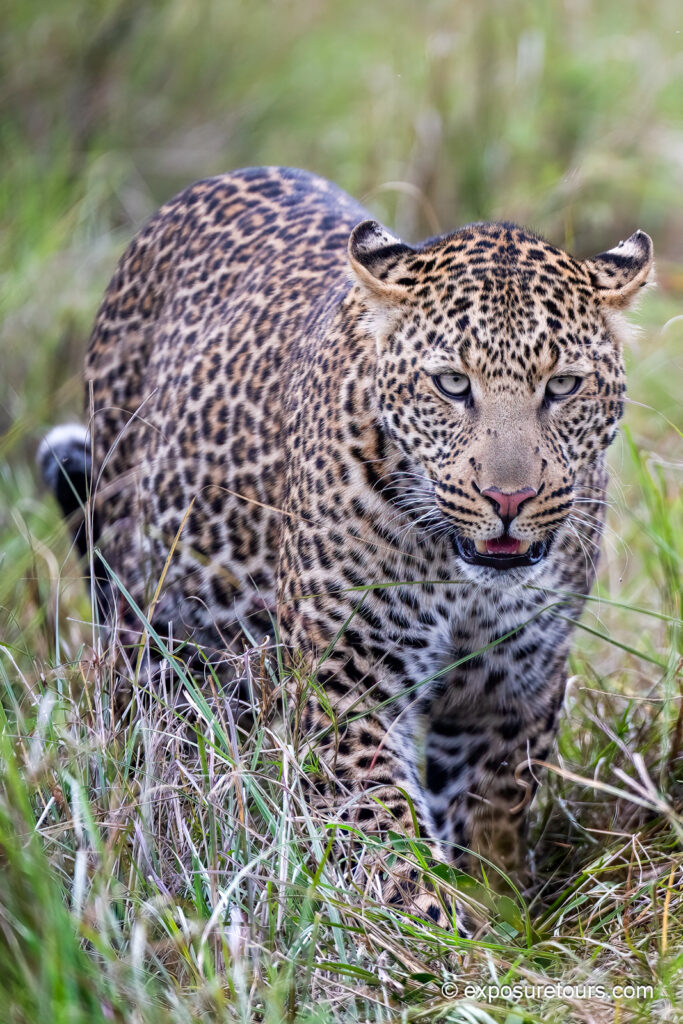
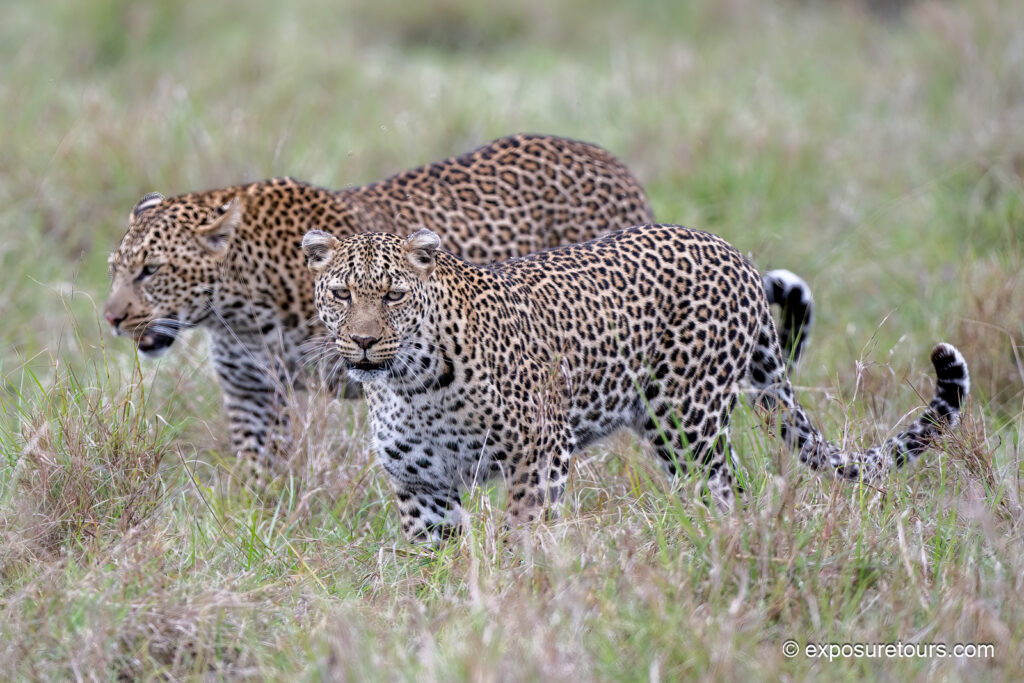
The first day of our 10-day safari photography tour gives photographers time to test their equipment and refine their settings before flying into the main park. Based on years of experience, this location reliably offers sightings of nearly all the major wildlife species, with the exception of elephants and leopards.
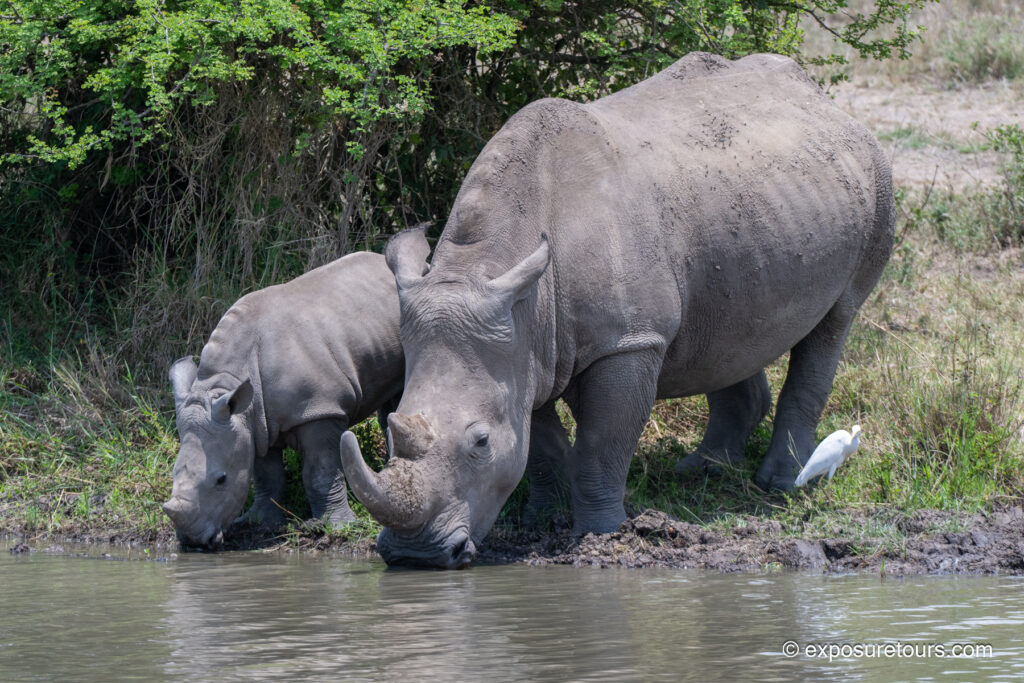
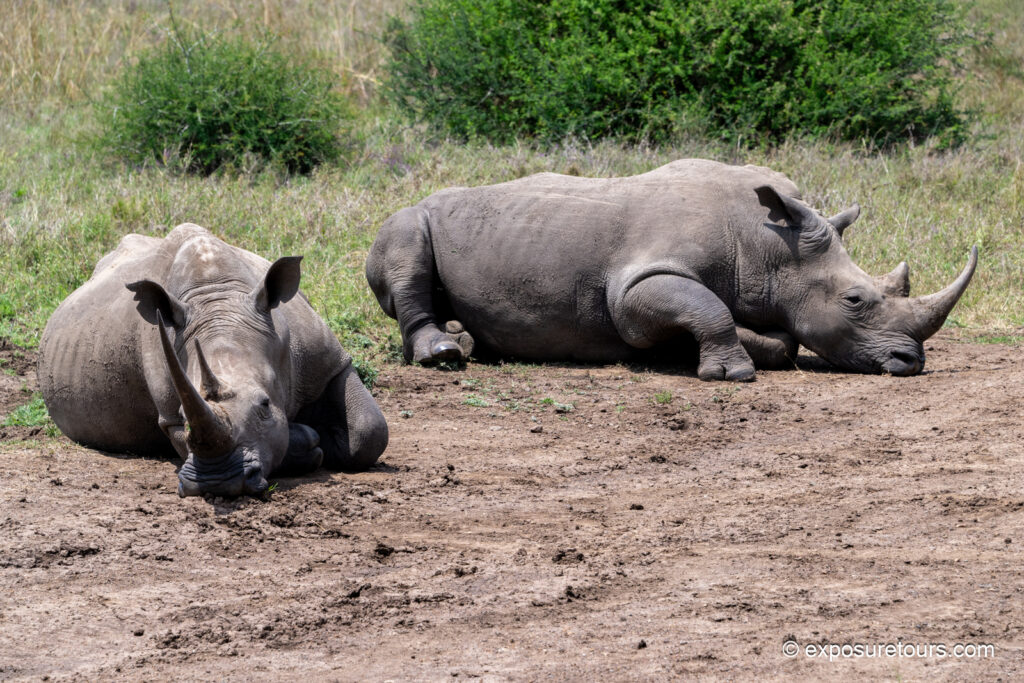
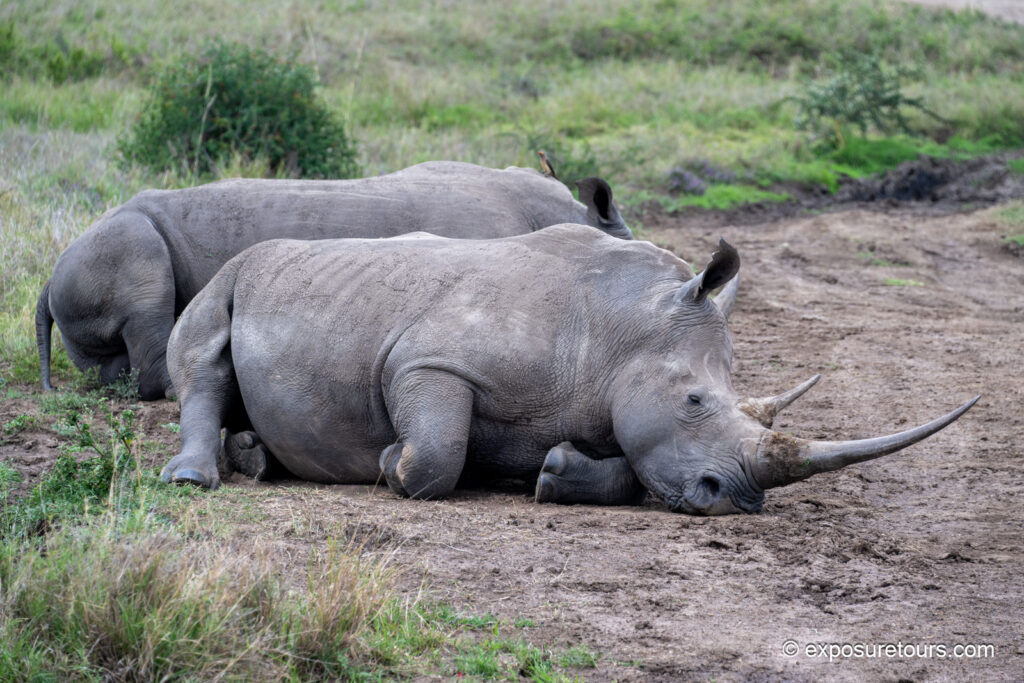
For a first day it was great to get some unique sightings like a mother and baby White Rhino drinking. Typically they are very shy and hard to spot

During these sessions, I primarily use Aperture Priority (AP) or Shutter Priority (SP) combined with Auto ISO. Matrix metering for general situations and on center-weighted metering for most wildlife scenes to prevent bright ambient light from influencing exposure on the subject. Shooting is typically done in single frame or continuous low FPS, increasing frame rates only during high-action moments. High FPS bursts are limited to what the Nikon Z9 can comfortably sustain while recording RAW files.


Along with these Basic Settings I use Back Button Focus The Z9 makes it super easy to set this up. Click on the link for instructions
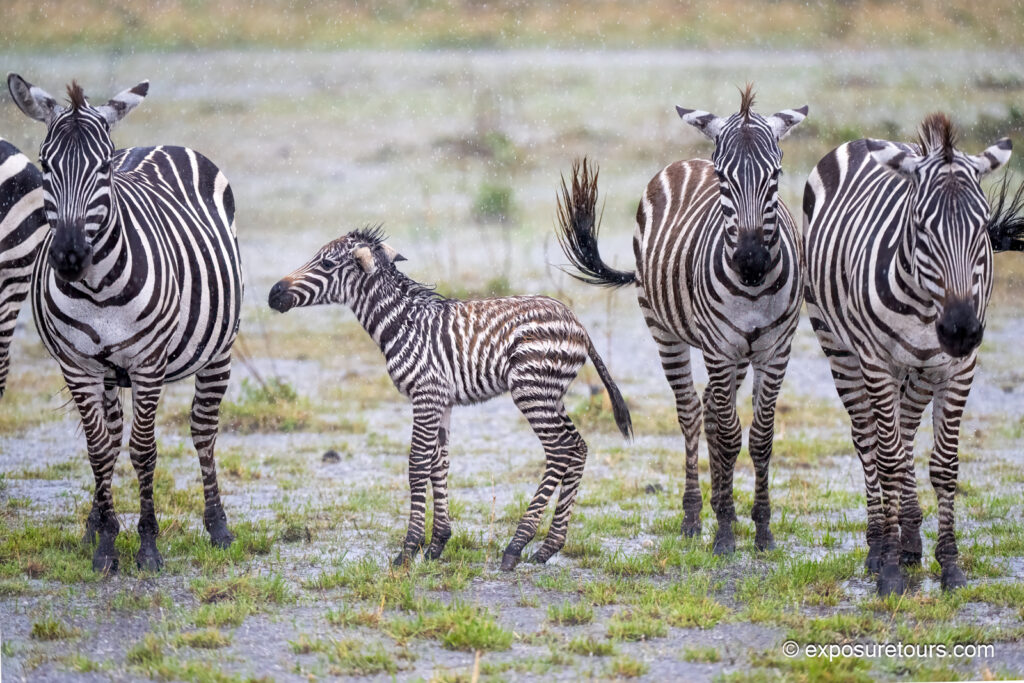
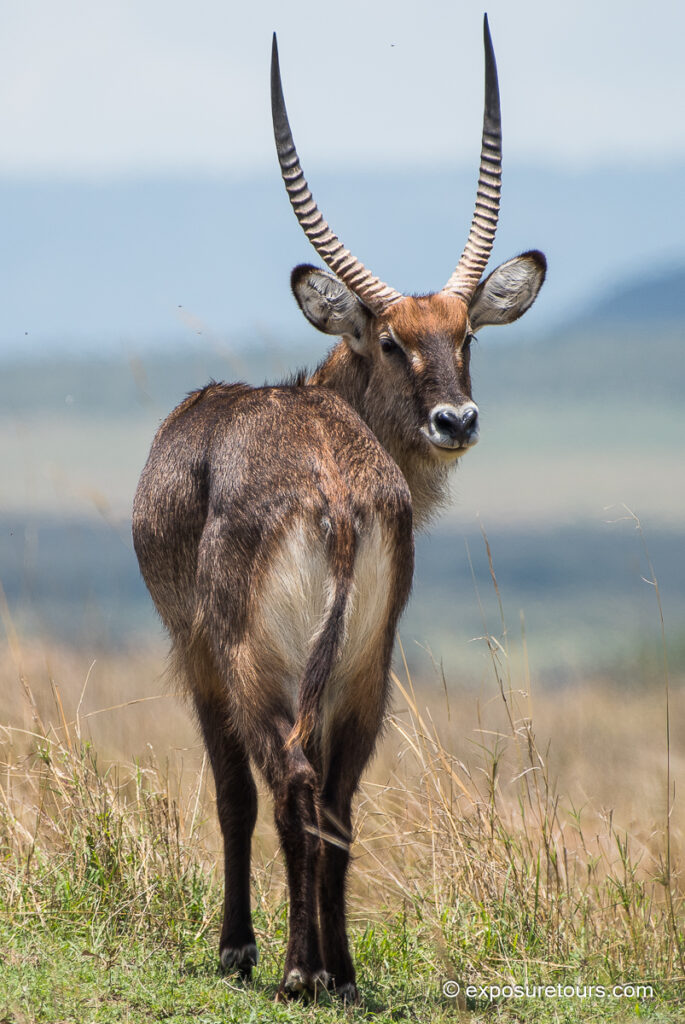
On slightly overcast days, I avoid compositions that include large areas of sky, which tend to render as flat grey or white. Instead, I focus on filling the background with foliage to create depth, texture, and separation.
Photo Tip:
With the 200-400 I like to keep the shutter speed high to avoid any blur. The Z9 and many older Nikons allow you to specify a minimum shutter speed so if you are in Aperture Priority mode it will balance auto iso with your shutter speed preferences. A very handy setting well worth applying.
Nikon Z9 Video and Subject Tracking Performance
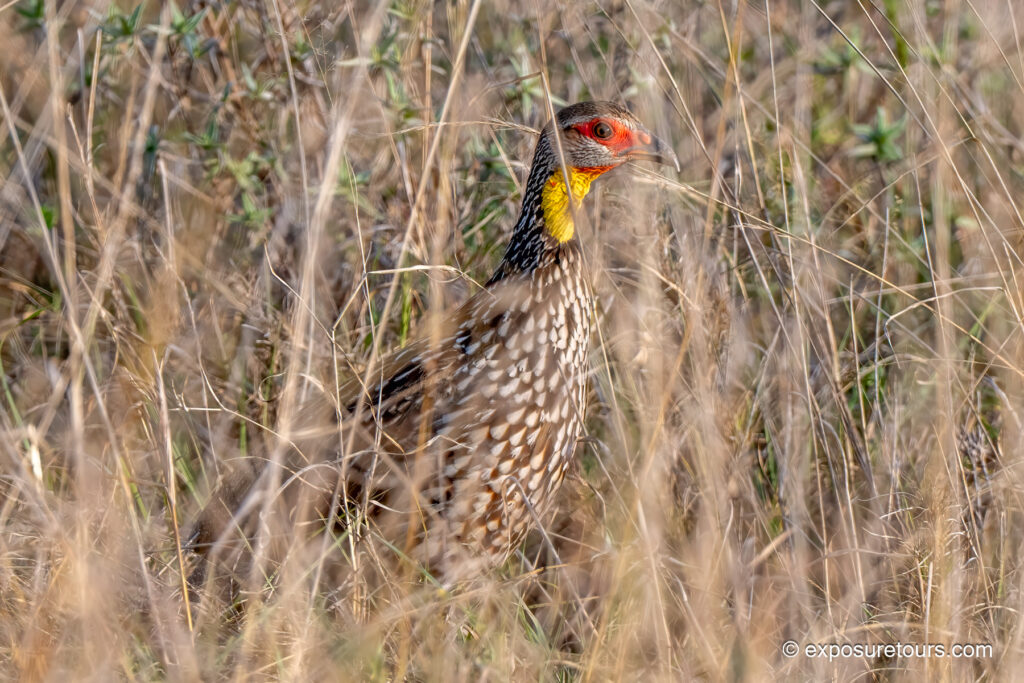
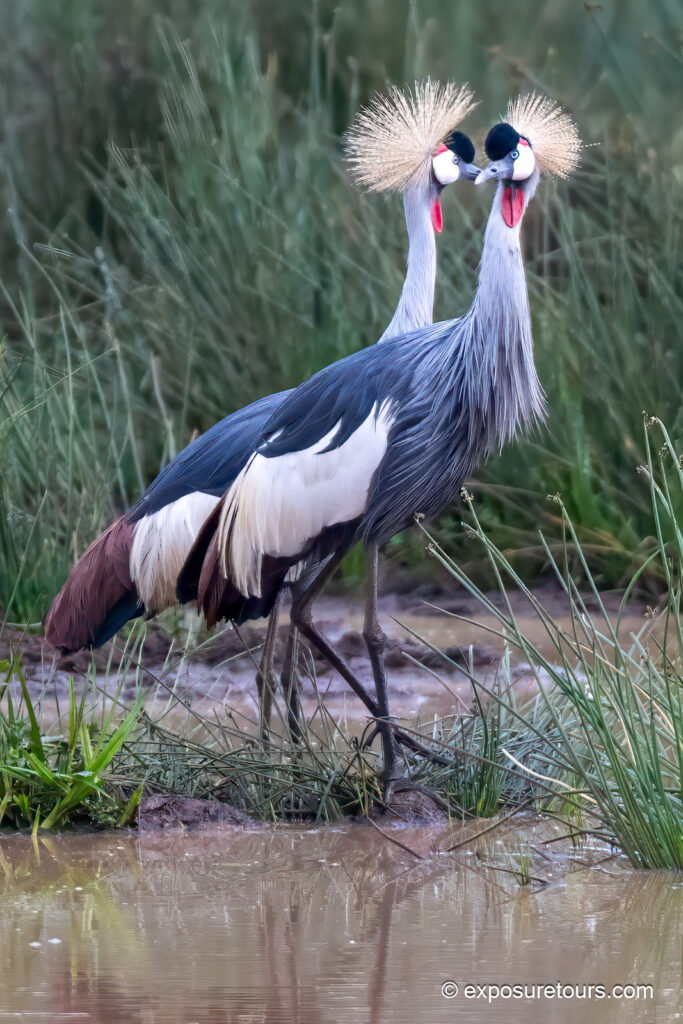
Kenya held the world record for the most birds spotted in a 24hr period. Its truly a Bird Watchers Paradise Even with a shorter lens the Z9 works well with eye detect and subject detect but when the subject isnt filling the frame or the background is cluttered the camera can struggle to get a lock.
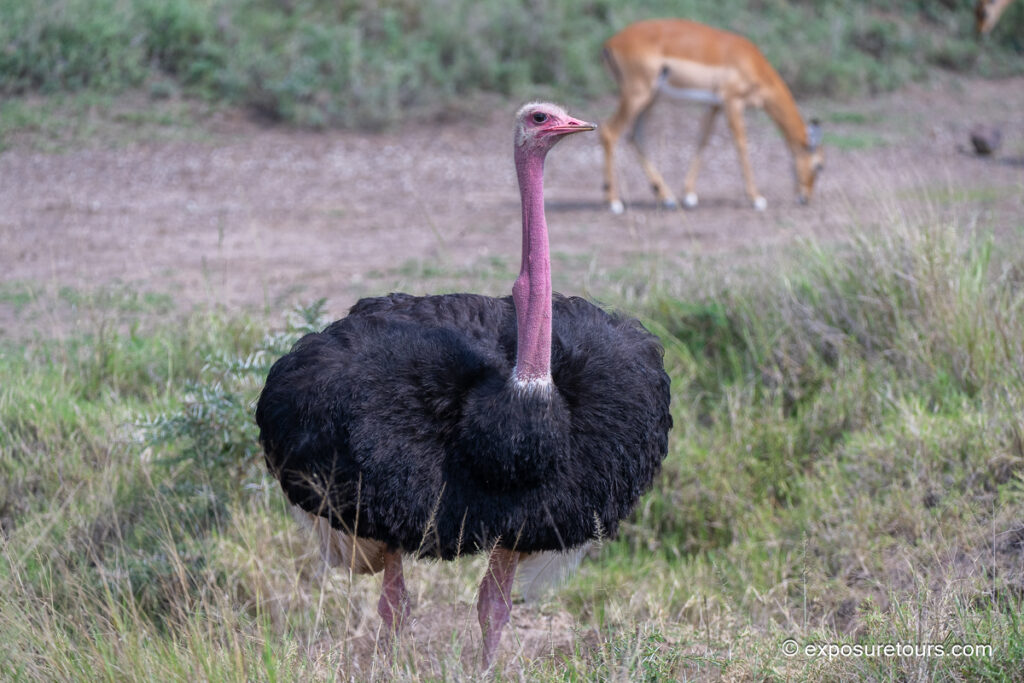


Of course the Ostrich is a massive bird so focusing isn’t an issue. As the safari progresses I will have more challenging subjects to test out the Z9.
Subject tracking tests were expanded to include birds, which are generally an easy target for modern autofocus systems. In the Seychelles, the Z9 performed very well until backgrounds became more cluttered. This made it an ideal scenario to assess improvements introduced by the latest firmware.
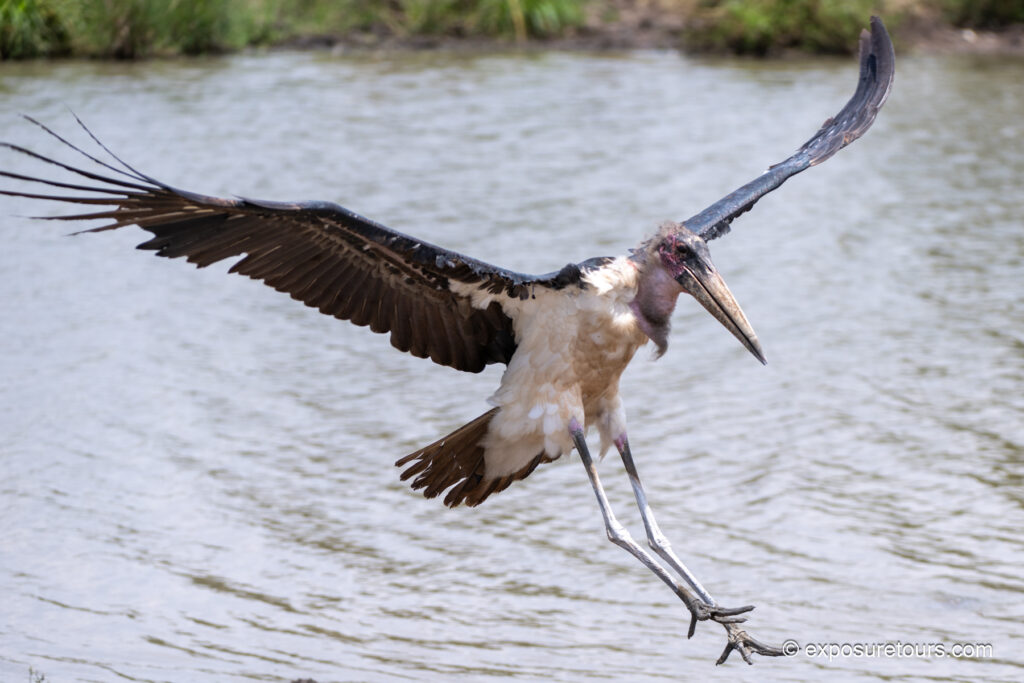
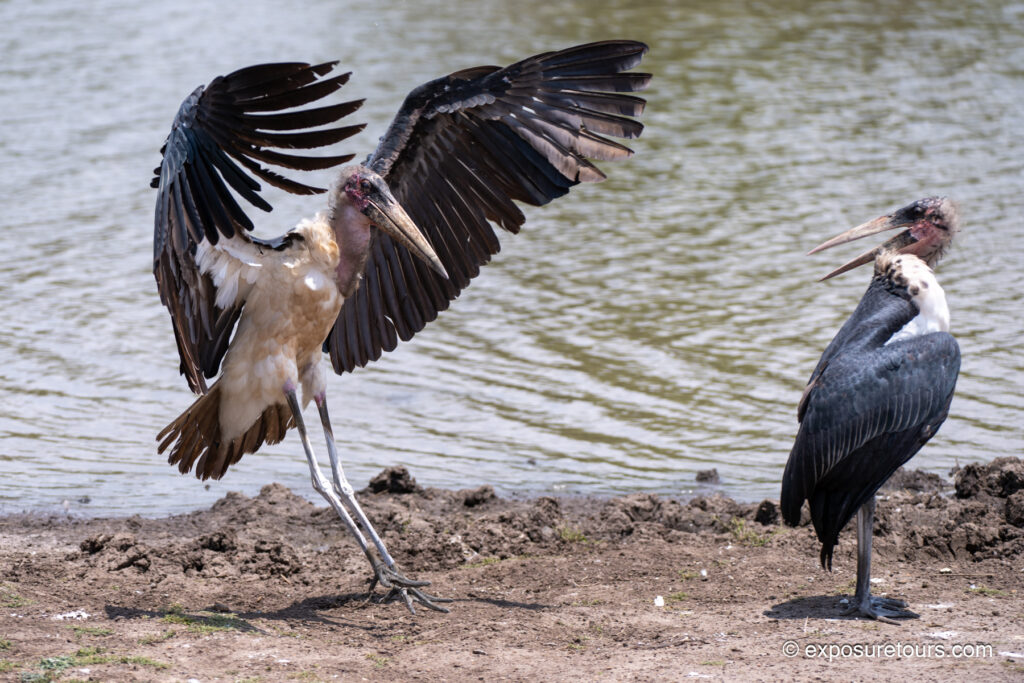
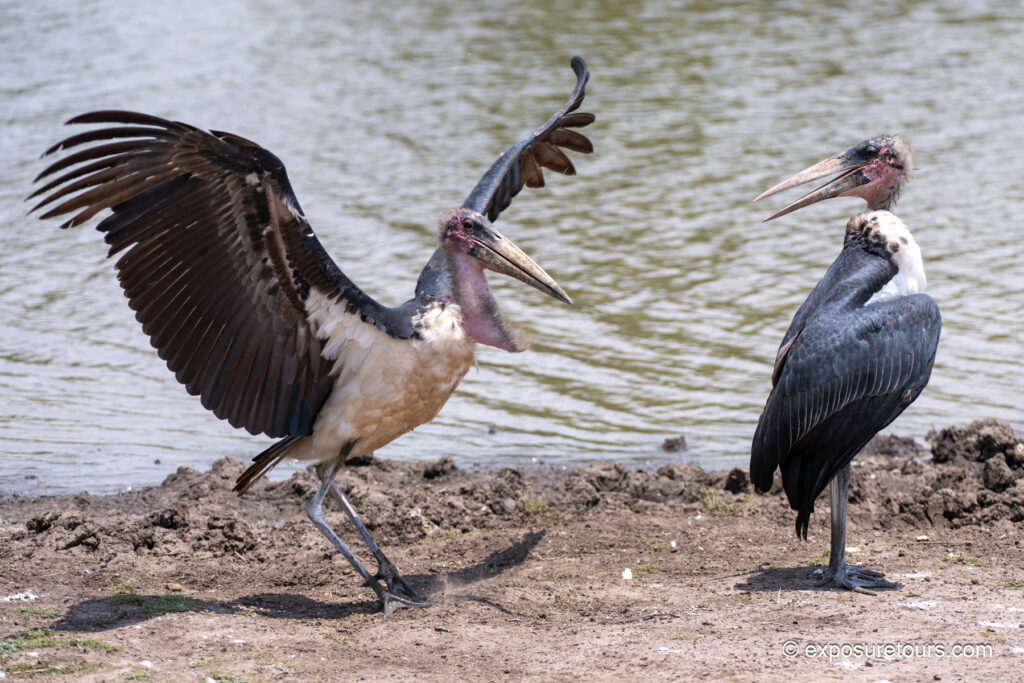
The Z9 did an impressive job of tracking this Marabou Stalk flying and coming into land. It held focus with Wide Area AF (L) selected in program mode.
The Z9’s 2K and 4K video capabilities were also tested extensively. One particularly rare sighting involved a courting pair of ostriches, providing an excellent opportunity to evaluate autofocus tracking and video quality in real-world conditions.
I decided not to shoot at 4k due to file sizes when editing. The Ostrich video was captured at 1920 x 1080. Shot with bean bag support.
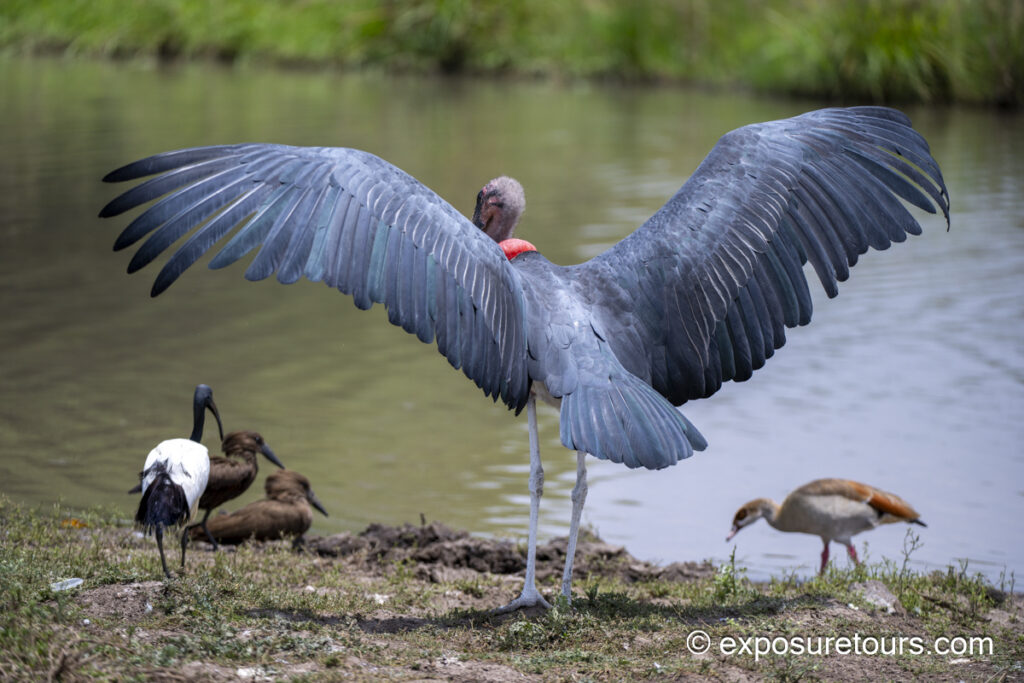
Even with a wide shoot on Auto subject the Z9 locked on to a bird and even picked out its eye.
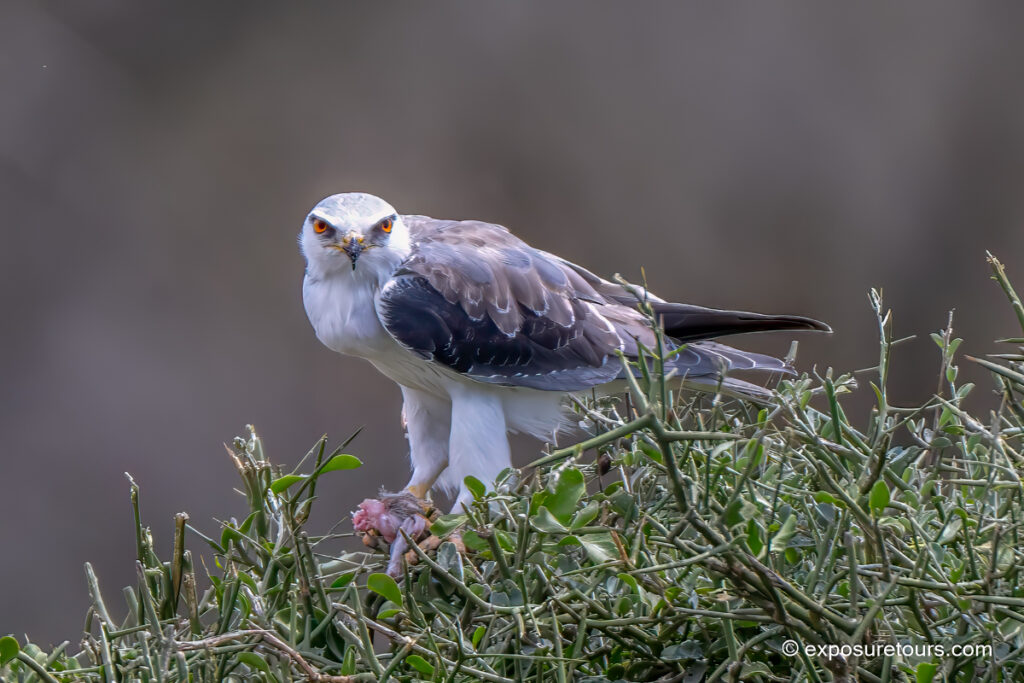
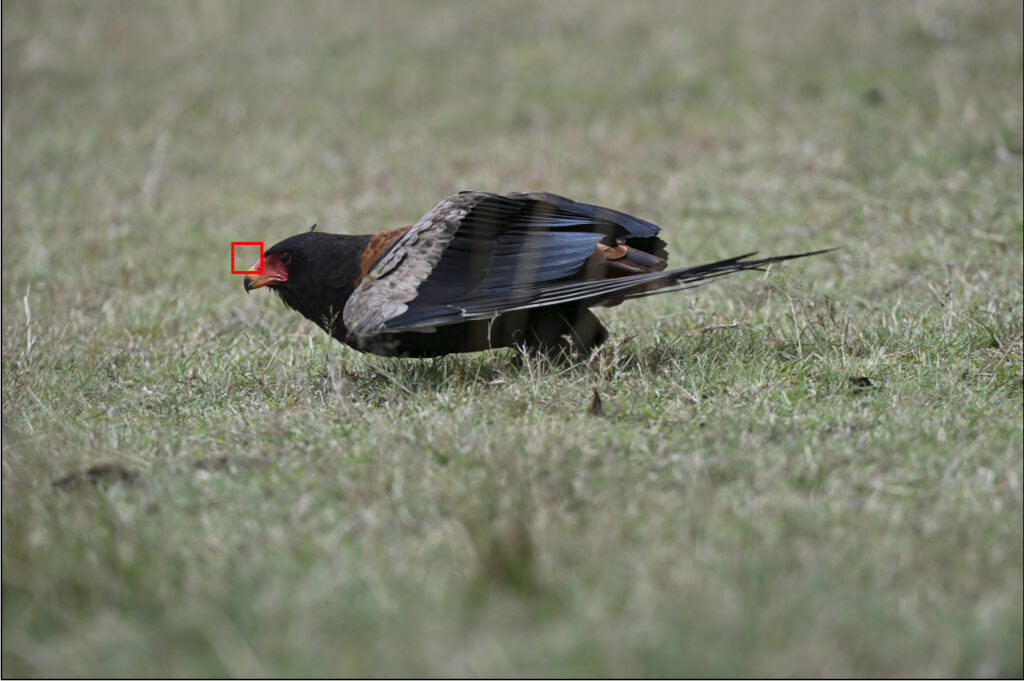

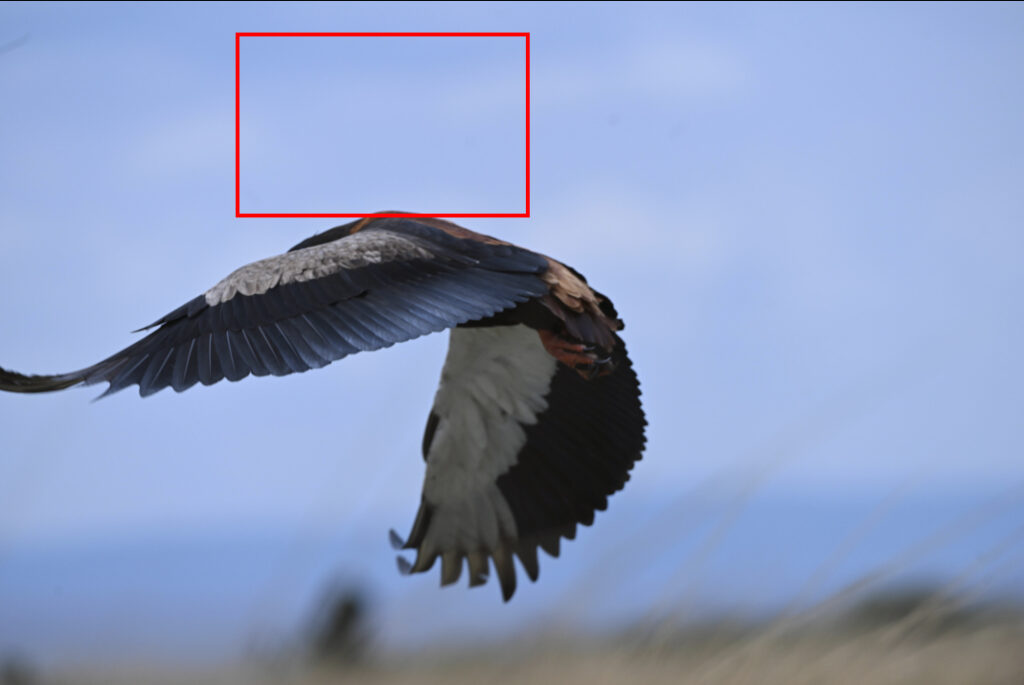
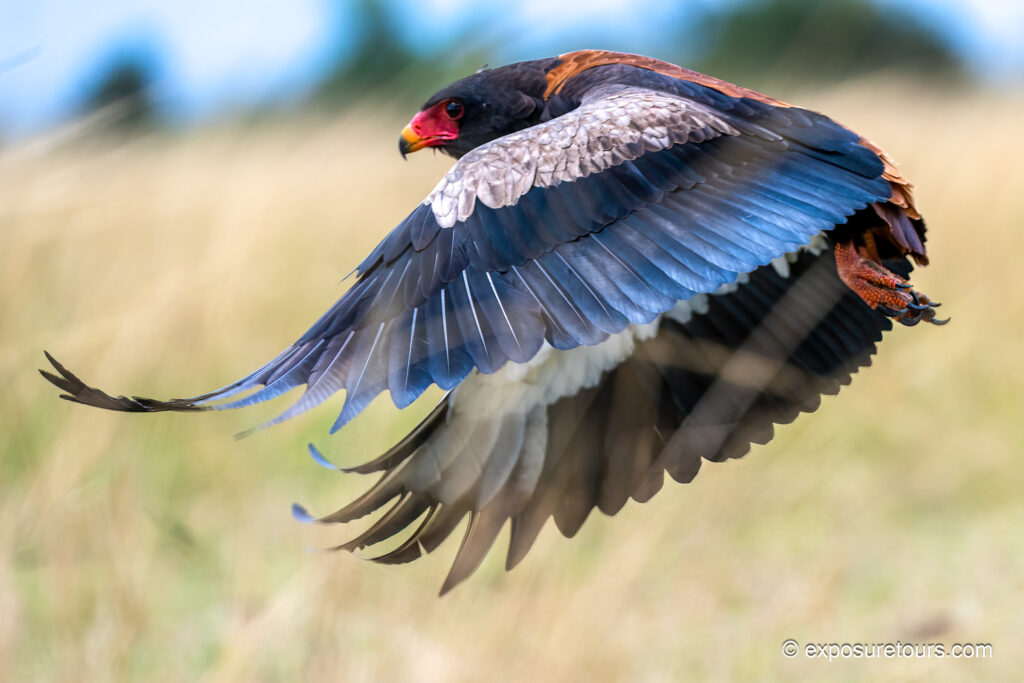
Photo Tip:
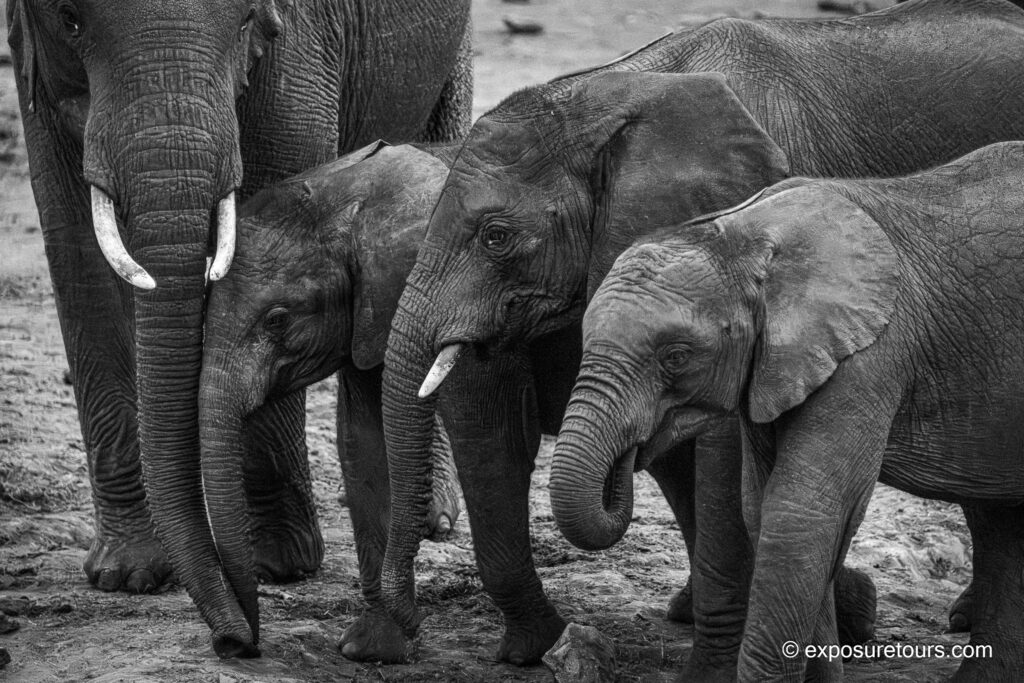
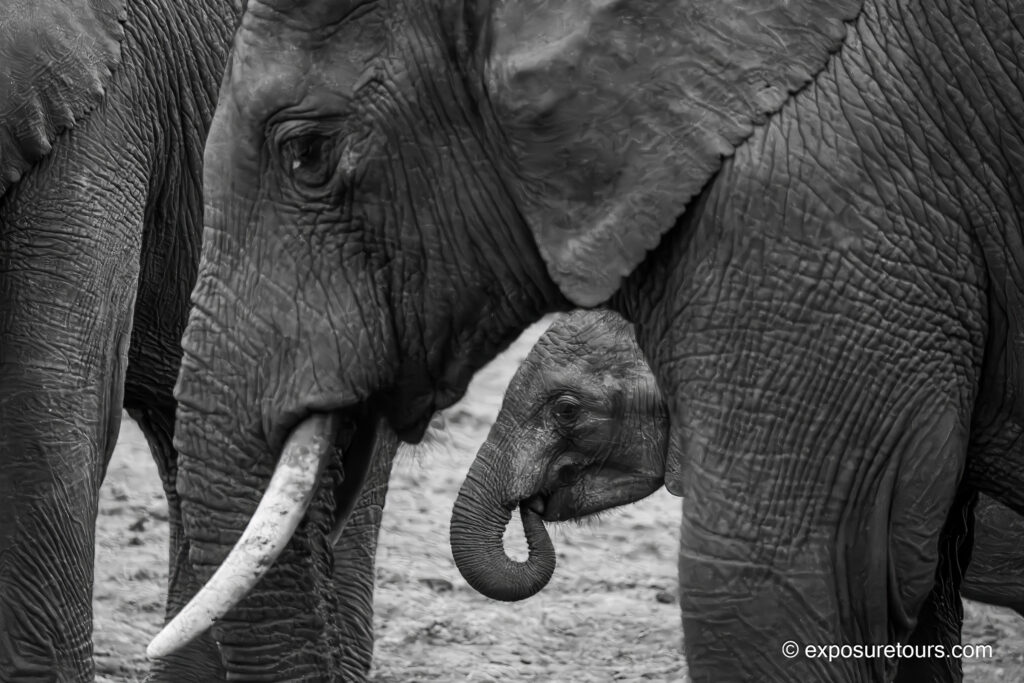
Auto subject detection worked very effectively when used within an assigned Large Area. However, when the Z9 was set to Auto Area using the full frame, it often took a few seconds to settle on a subject. In busy or visually complex scenes, especially with multiple animals grouped together, the camera can struggle to determine which subject I want to prioritize.
For this reason, I primarily rely on Continuous AF combined with Single Point focus. I adjust focus either by moving the point over the subject or by using the toggle button, which gives me full control in fast-changing scenarios.
Here are some of the results with both static and moving subjects


Low-Light Wildlife Photography with the Nikon Z9
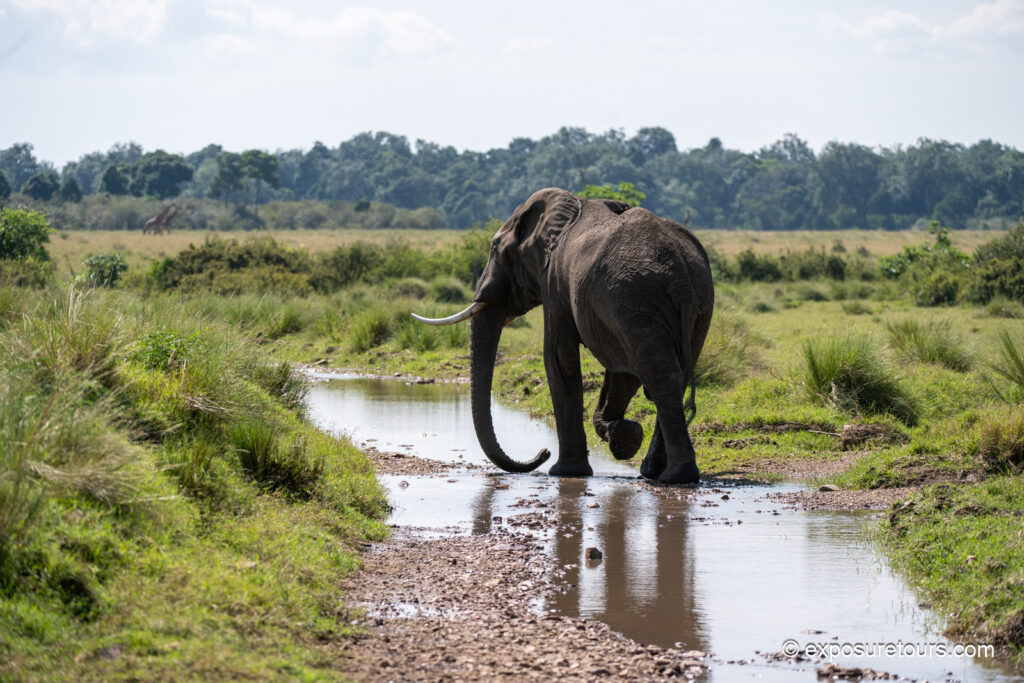
A subsequent location allowed for controlled low-light wildlife photography, shooting from a bunker overlooking a floodlit watering hole. This environment was ideal for photographing elephants with shorter lenses while evaluating high-ISO performance, autofocus reliability, and image noise under challenging conditions.
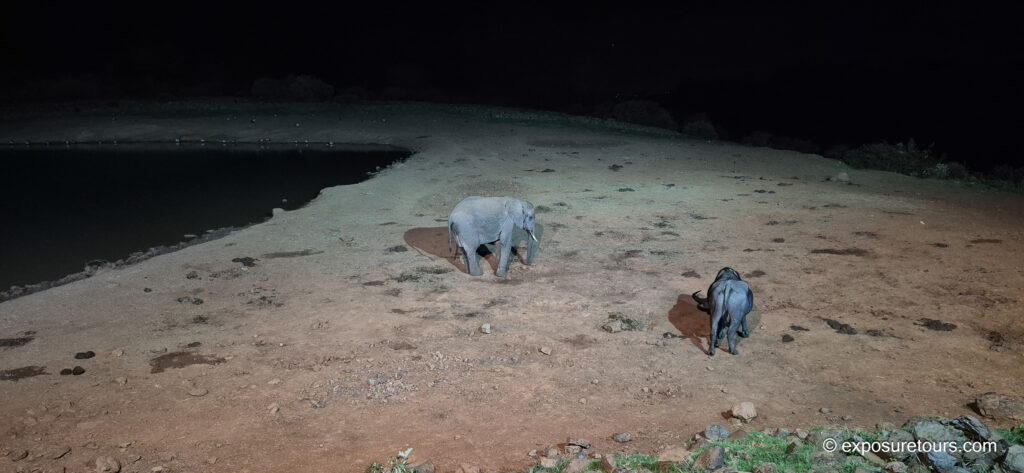
In these situations, you’re dealing with low light, minimal contrast, and multiple subjects in the frame. Here, I relied on my usual focusing approach: Single Point with Continuous AF. This scene also clearly highlights the advantages of back-button focus. It allowed me to place focus precisely on any part of the scene, with full access to all 495 focus points.
Without back-button focus, the camera would have locked onto the larger animal in the foreground. The elephant image above shows why subject or eye detection would struggle in a scene like this.
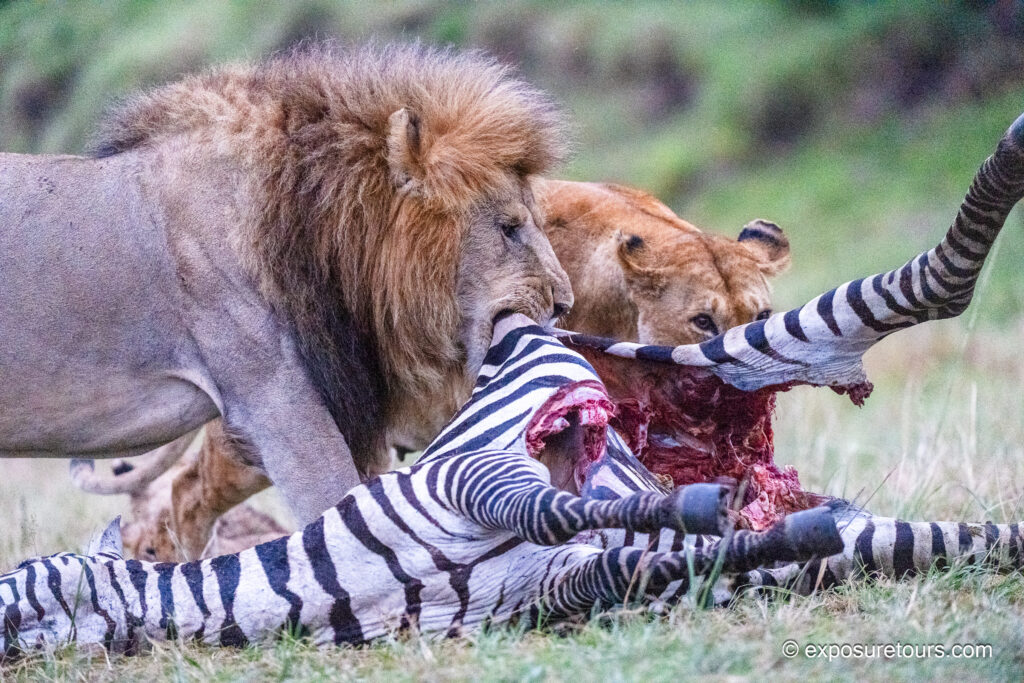
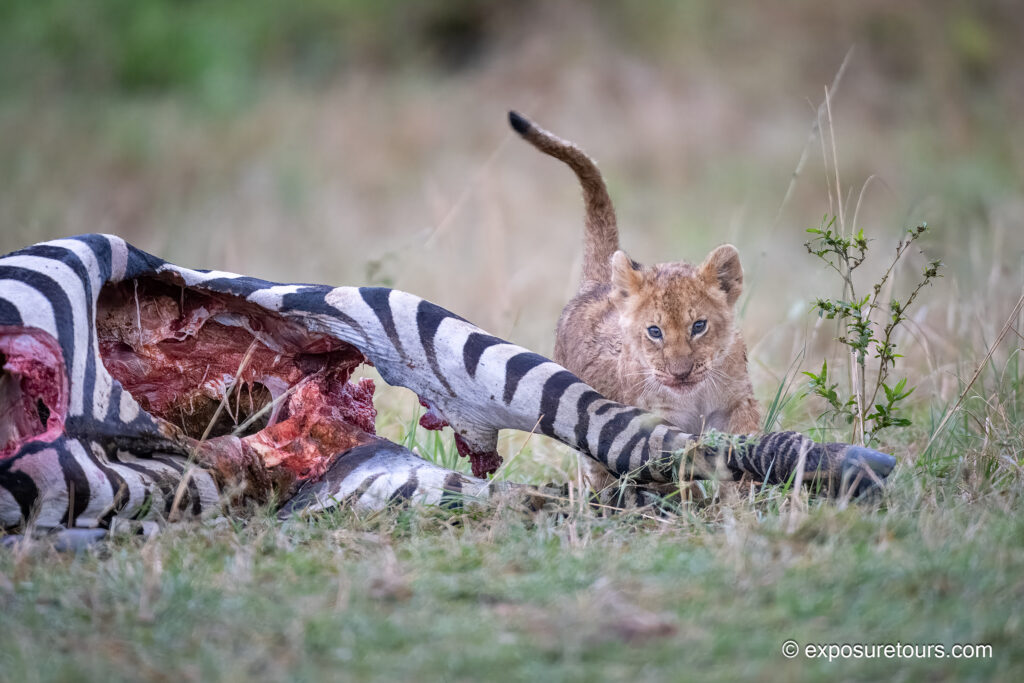
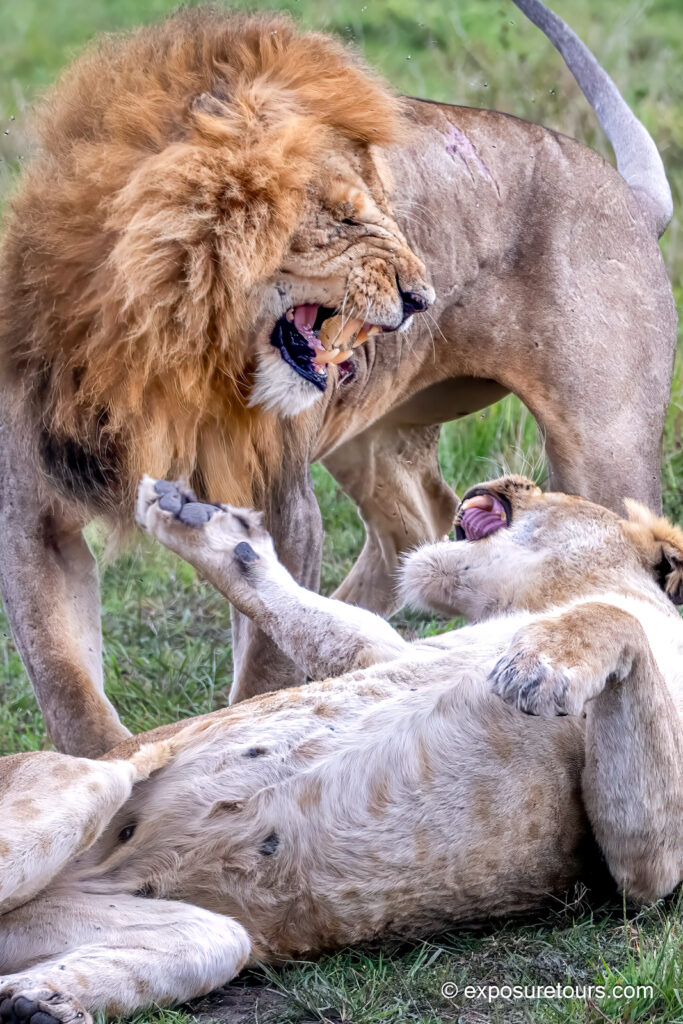
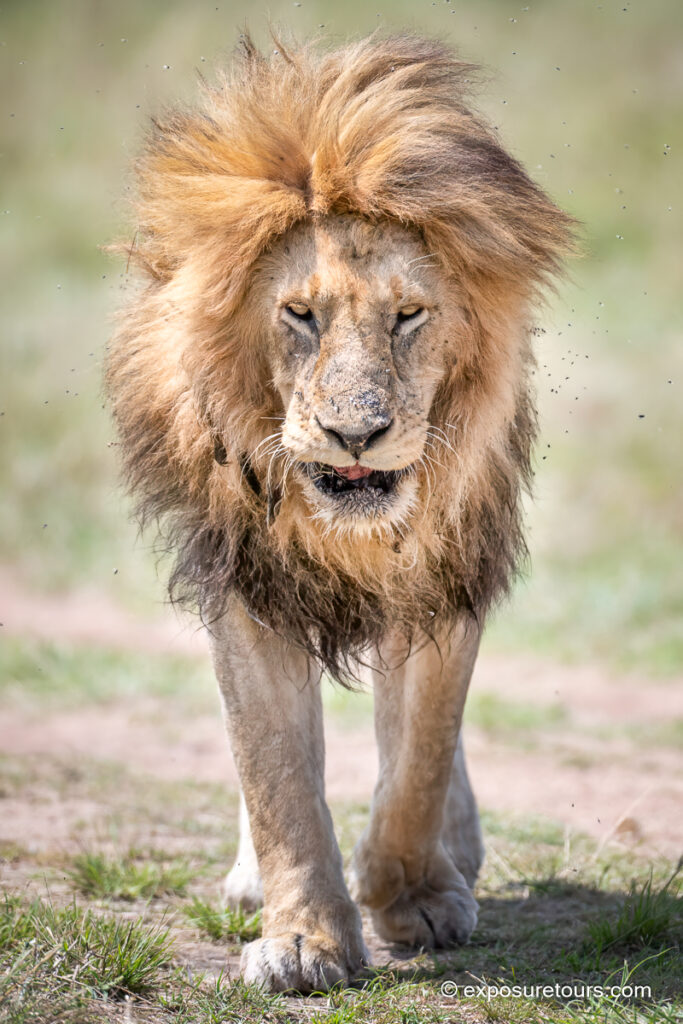
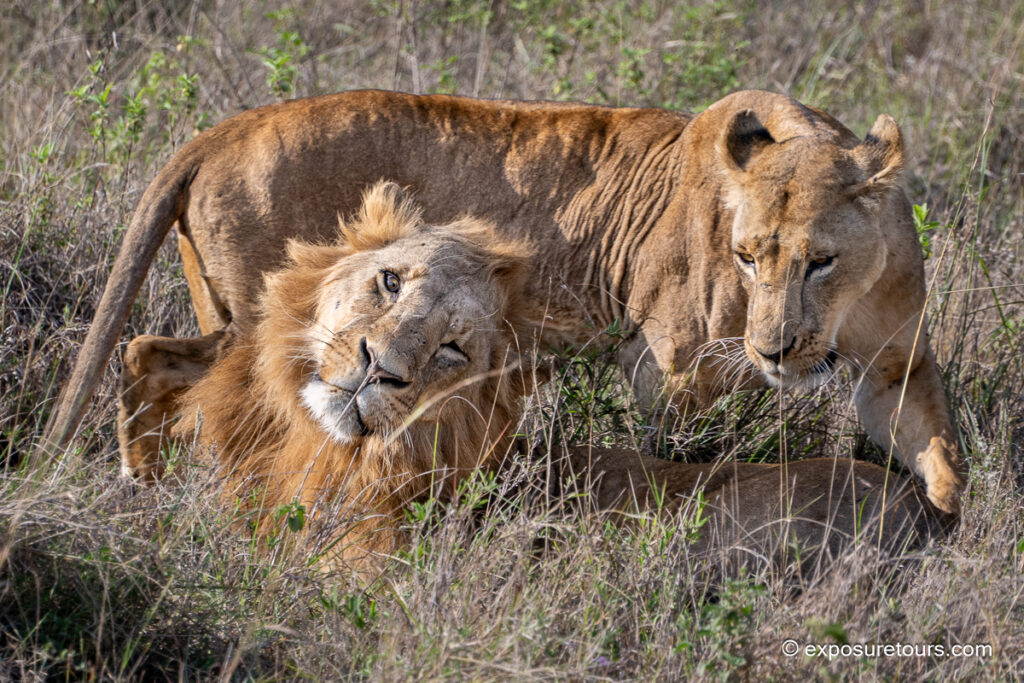
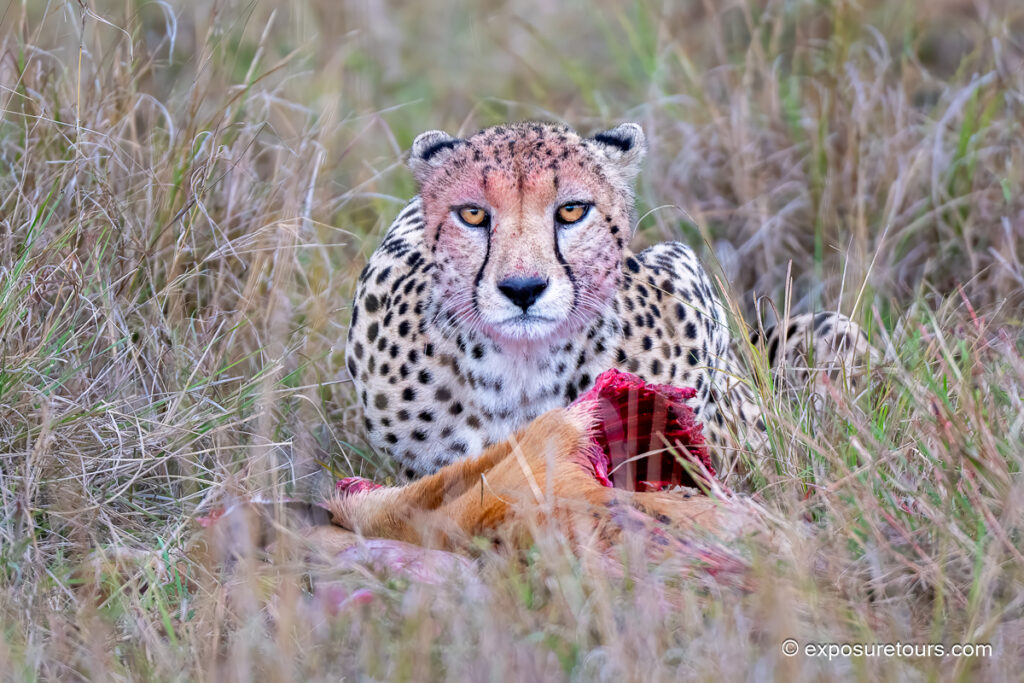
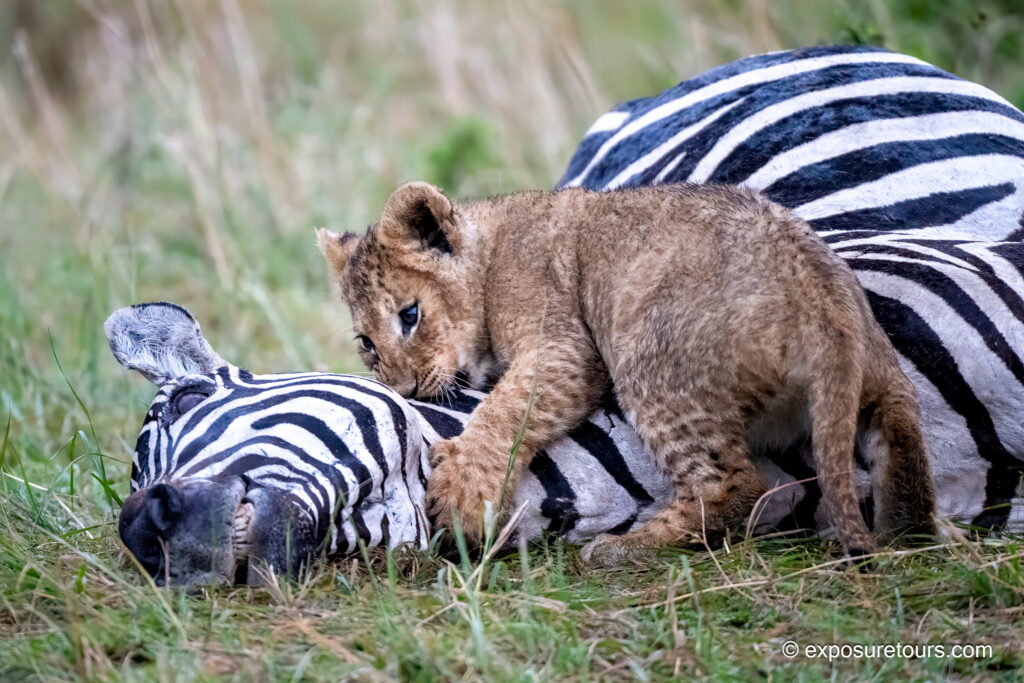
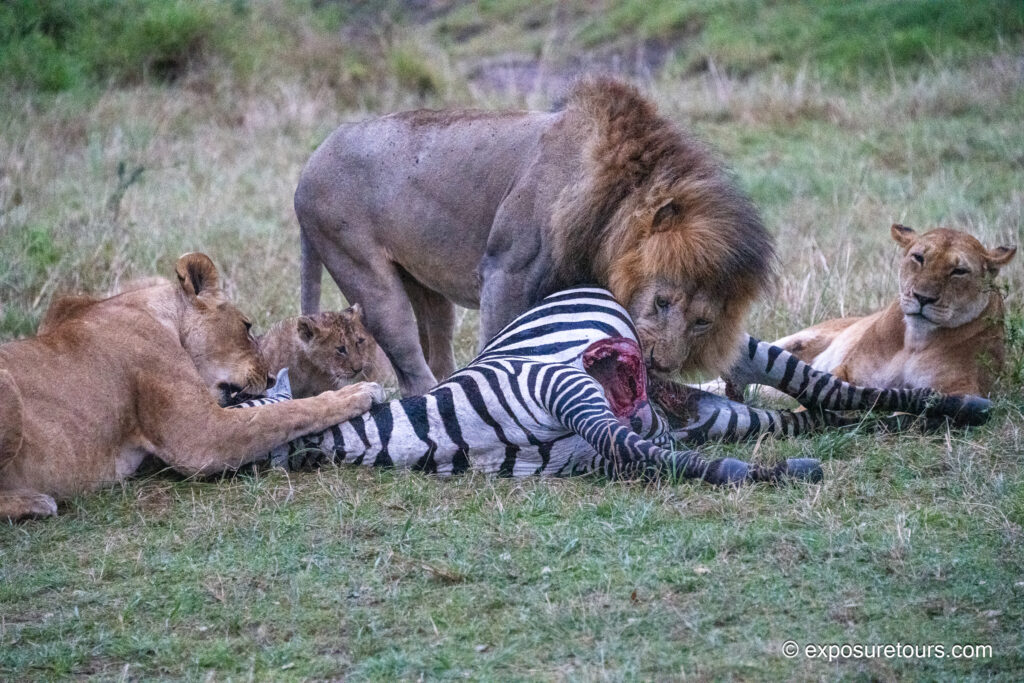
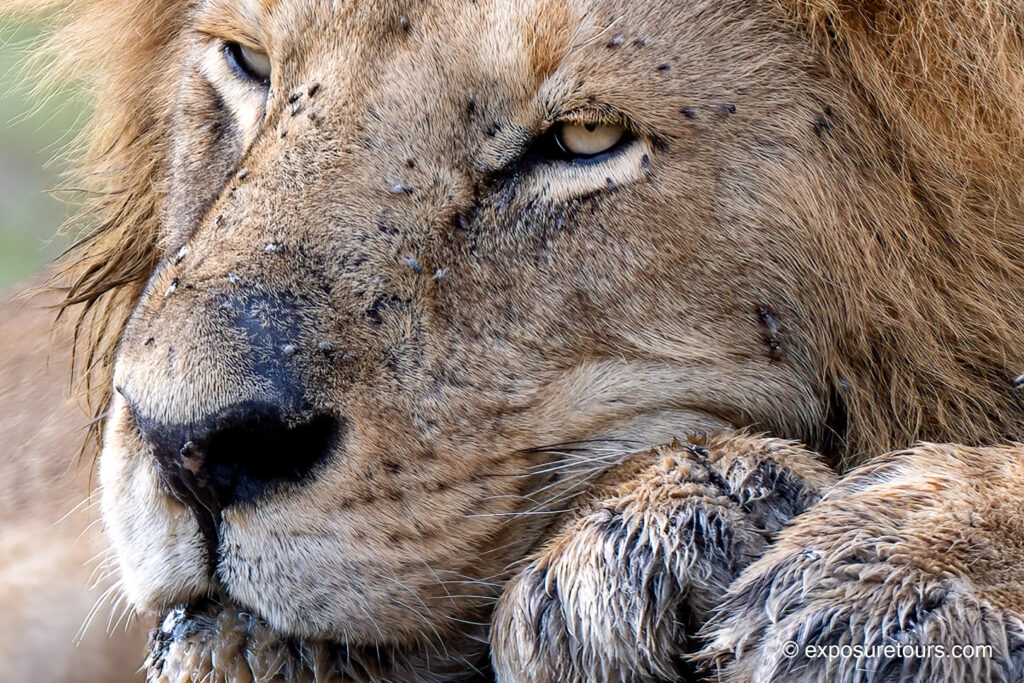
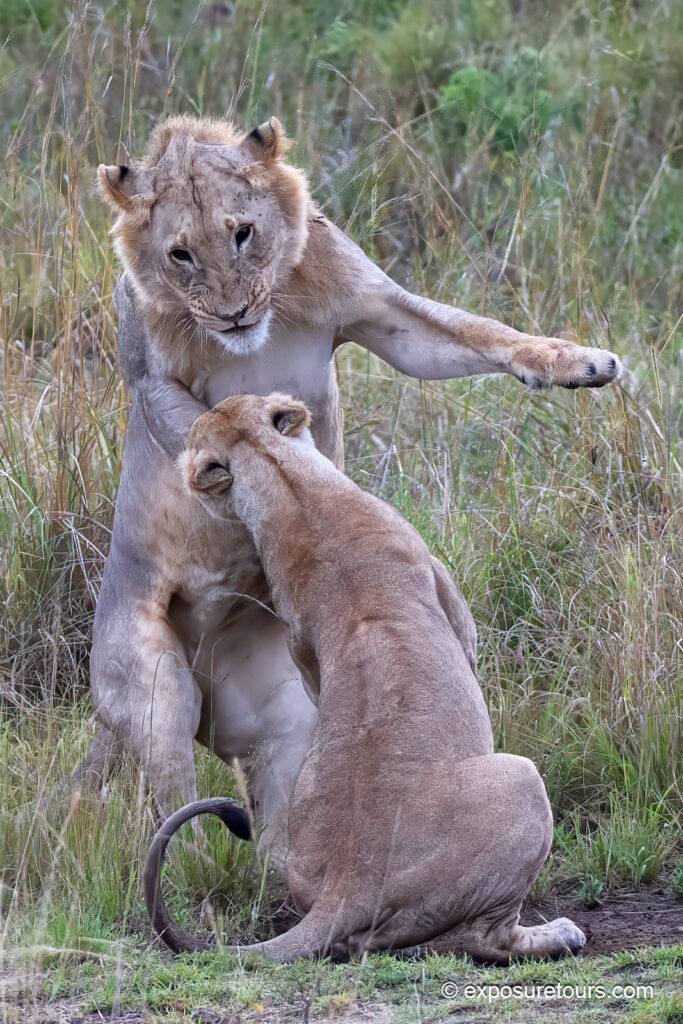
I’m often shooting for up to 12 hours, from sunrise to sunset, so low-light situations—especially with big cats—are inevitable. This scene unfolded right at the very end of the day, and I couldn’t resist staying to watch it play out. With the lion kill only about 15 meters away, I was able to shoot at 250mm, which I prefer in close encounters like this.
I expect VR on newer Z lenses to be fast and highly effective. However, with the 200–400mm f/4, I noticed a slight delay when engaging VR, so I chose to leave it turned off. I initially started shooting at 1/250 with Auto ISO hovering around 3,600, fully open. As the light continued to drop, I pushed the ISO up to 25,600 and increased the shutter speed to 1/500.
For a few frames, I also switched to a wider lens to vary the perspective. Meanwhile, when it comes to noise control.
I prefer to handle most of the reduction in post-production using Lightroom and other applications, rather than relying heavily on in-camera processing. For this reason, and as a final step in my setup, I keep in-camera noise reduction set to Normal (Type A).
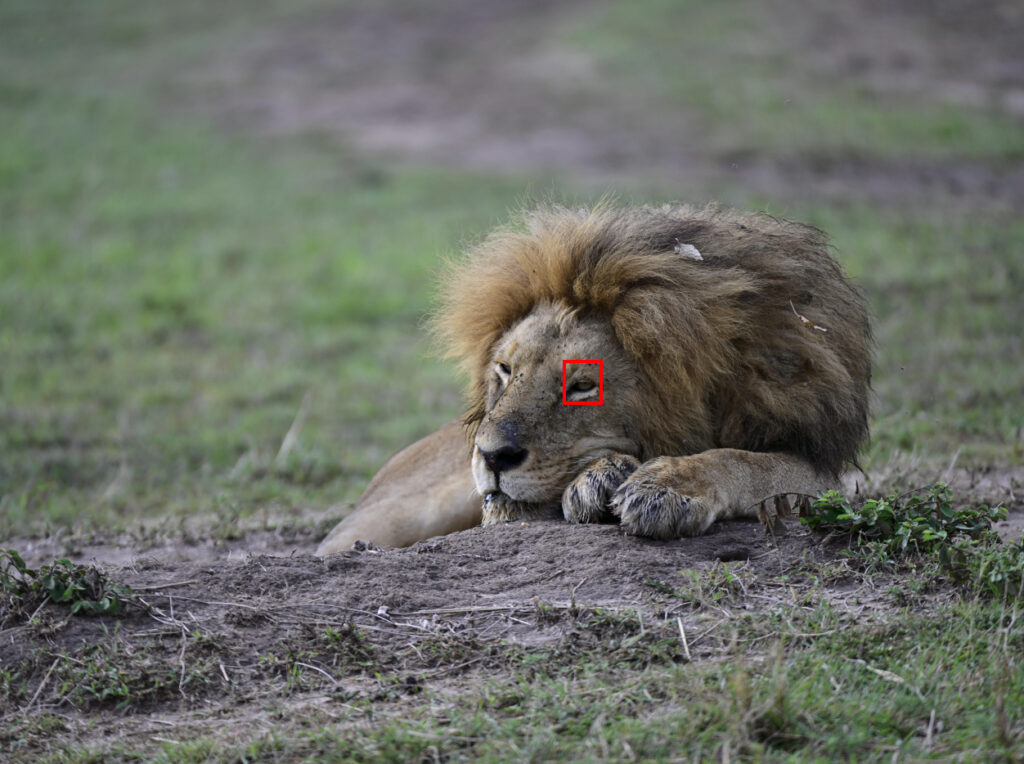
The quality of images even with no noise reduction was very impressive. Typically at high iso color clarity is considerably diminished but the CMOS sensor still captures enough tones.
Photo Tip:
At its base ISO of 64, the Z9 slightly outperforms its rivals, delivering a color depth of 26.3 bits and a dynamic range of 14.4 EV.
In practice, I find ISO 400 to be a strong all-around setting when I want to lock in sensitivity. However, if the subject is relatively static and I have solid camera support, I’ll drop the ISO as low as possible to maximize image quality.

Favorite Features
I’m naturally drawn to an eye-to-eye perspective in my animal photography, and, in this respect, the Z9’s articulated screen plays a key role in achieving that look. Not only does it move up and down, but it also shifts left and right, which adds a great deal of flexibility. As a result, even when shooting vertically with the comfortable built-in grip, there’s no need to strain or reposition awkwardly to view the subject.

Furthermore, this added freedom of movement makes extended video recording far more comfortable over long periods. However, on the downside, the multi-part design feels slightly over-engineered and, as a result, I suspect it may be more prone to damage over time.


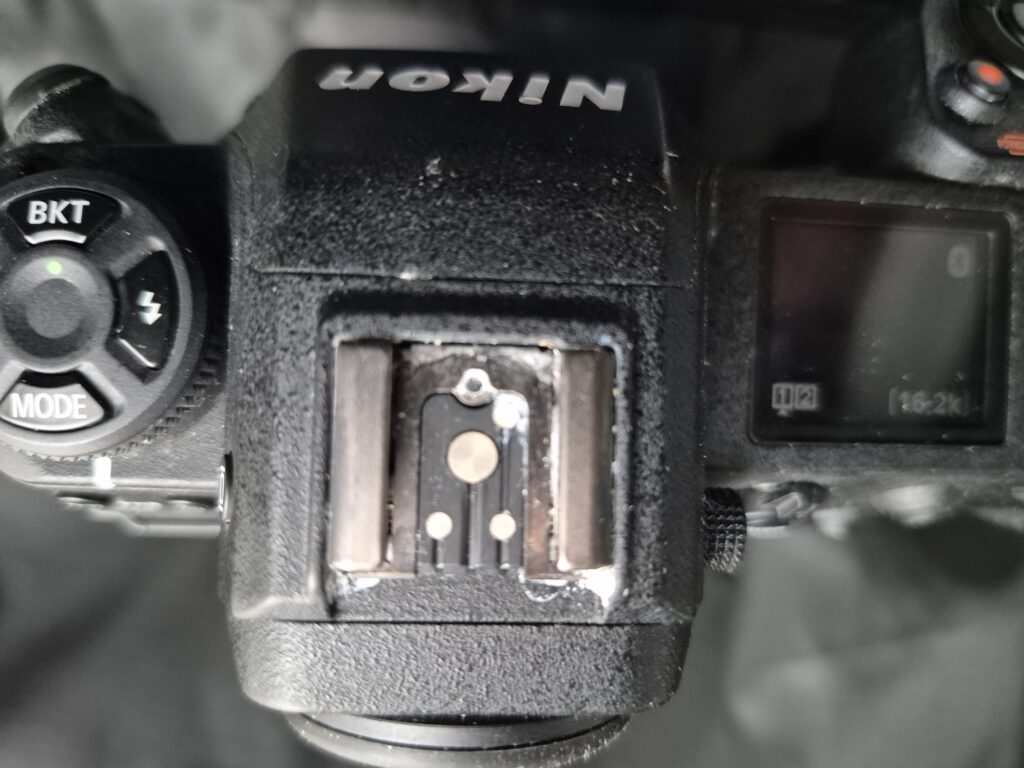
The battery compartment is exceptionally well designed and won’t open accidentally. The Nikon EN-EL18d battery is rated for 770 frames, although in real-world use I consistently get more than that. I carry two batteries, ensuring one is always fully charged. On safari, once a battery drops to around 75% depleted, I swap it out in the vehicle and continue shooting with the spare.
Lastly and very importantly in a dusty environment, the Sensor Shield that closes automatically when a lens is removed and at power off.
Z9 Biggest Bugs
The Z9 currently does not retain the Exposure Delay Mode setting within individual shooting banks. Each time a bank is changed, the setting has to be reset manually. This appears to be a software oversight, as the menu structure suggests the setting should be saved within the bank configuration.
While setting up my D bank, which is more complex than the others, I also noticed that it changed the back-button focus settings across all banks. I then had to go through each bank and reconfigure them, setting the shutter button to release-only and disabling autofocus.
Another quirk involves the native folder structure. The camera automatically places images from different shooting banks into separate folders. While that may suit some workflows, it doesn’t work well for mine. I prefer to keep all images from a project in a single folder, so I had to manually move the files back to their original location to keep everything organized.
#1 Wish List item
120 FPS RAW and JPEG recording Pre Release to match
Conclusion
The Nikon Z9 is an extremely capable camera designed for professional use. It consistently delivers excellent results even with older pro lenses. Images look natural and organic, avoiding the overly “digital” feel that some modern systems produce. One of the system’s real strengths is its fully digital architecture, which should make future improvements through firmware updates easier to implement.
It would also help to have the option to manually close the sensor shield, it remains open when the FTZ II adapter is attached. When switching between older lenses, this leaves the sensor less protected than it would be otherwise, resulting in inconsistent protection during lens changes.
Looking ahead, I hope Nikon continues to refine subject detection and lock-on performance, while also expanding RAW frame rate options in future updates.
April 2026 Update:
Nikon Z9 tests underway onboard the Artemis II for lunar landing use